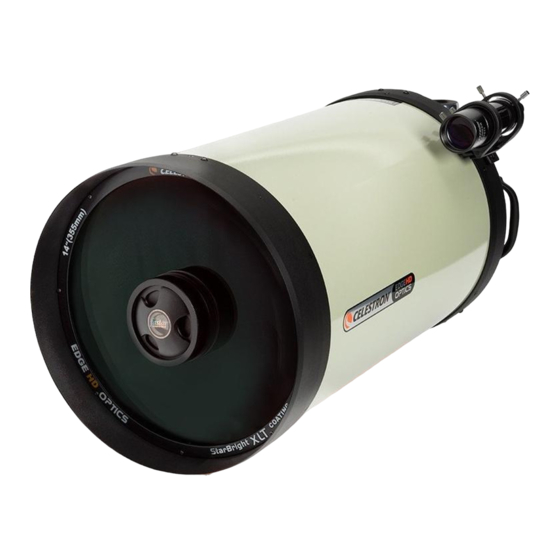
Celestron CGE1400 Дополнительное руководство - Страница 5
Просмотреть онлайн или скачать pdf Дополнительное руководство для Аксессуары Celestron CGE1400. Celestron CGE1400 17 страниц. Schmidt-cassegrain optical tube assembly
Также для Celestron CGE1400: Руководство по протоколу связи (8 страниц), Руководство по эксплуатации (12 страниц)

on the opposite side of the side of the sky (Meridian) as the original alignment stars. This is essential
for an accurate calibration of the mount.
Fina y you can choose to continue to add additional calibration stars or Press UNDO to complete the
ll
alig
nment.
Tips
fo adding calibration stars:
r
•
It is recommended that users add at least two calibration stars for optimal point accuracy.
•
Calibration stars that are near the poles are intentionally filtered out because they can result in a
less accurate calibration.
•
Although it is not be necessary to use ca
since its original alignment/calibration, it may be necessary to add calibration stars if the optical
tube has been removed for any reason.
O
n
e
S
t
a
r
A
l
i
g
n
O
n
e
S
t
a
r
A
l
i
g
n
One-Star Alignment works much the same way as Two-Star A
a
lignment. This method of alignment is not as accurate as the two-star alignment and is recommended only for
telescopes that are permanently a
S
o
l
a
r
S
y
s
t
e
m
A
S
o
l
a
r
S
y
s
t
e
m
A
Solar System Align is designed to provide excellent tracking and GoTo performance by using solar syst
objects (Sun, Moon and planets) to align the telescope with the sky. Solar System Align is a great way to align
y
o
ur telescope for daytime viewing as well as a quick way to align the telescope for nighttime observing.
N
ever look directly at the sun with the naked eye or with a telescope (unless you have the proper solar
filter). Permanent and irreversible eye damage may res
1.
Select Solar System Align from the alignment options.
2.
The SELECT OBJECT message will appear in the top row of the display. Use the Up and Down scroll keys (1
select the daytime object (planet, moon or sun) you wish to
3.
Use the direction arrow buttons to carefully center the object in the finderscope. Press ENTER when cen
4.
Then, center the object in the eyepiece and press ALIGN.
nce in position, the telescope will model the sky based on this information and display Alignment
O
Successful.
•
For safety purposes, the Sun will not be displayed in any of
enabled from the Utilities Menu. To allow the Sun to be displayed on the hand control, do the follo
1.
Press the UNDO button until the display reads "CGE Ready"
2.
Press the MENU button and use the Up and Down keys to select the Utilities
3.
Use the UP and Down keys to select Sun Menu and press ENTER.
4.
Press ENTER again to allow the Sun to appear on the hand control display.
The Sun c
an be removed from the display by using the same procedure as above.
•
To improve the telescope pointing accuracy, you can add alignment stars as described in the Improving Pointing
Accuracy secti
on below.
Q
u
i
c
k
-
A
l
i
g
n
Q
u
i
c
k
-
A
l
i
g
n
Quick-Align uses all the date and time information entered at startup to align the telescope. However, instead of slewing to
the alignment stars for centering and alignment, the telescope bypasses this step and simply models the sky based on the
nd accurately polar aligned.
l
i
g
n
l
i
g
n
Tips for Using Solar System Align
libration stars if the telescope mount has not been moved
lign but uses only a single star in the sky for
ult.
align. Press ENTER.
the hand control's customer object lists unless it is
menu. Press ENTER.
em
0) to
tered.
wing:
