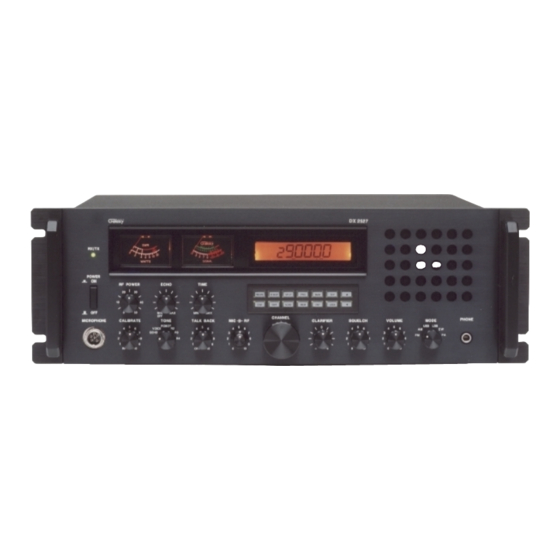
Galaxy DX 2527 Руководство пользователя - Страница 7
Просмотреть онлайн или скачать pdf Руководство пользователя для Трансивер Galaxy DX 2527. Galaxy DX 2527 10 страниц. Am/fm/ssb/cw/pa amateur base station transceiver

OPERATION PROCEDURE
Frequency Selection
Frequency selection for the DX 2527 is simple. Select the desired
operating frequency by rotating the Frequency selector or using the
UP/DOWN buttons on the top of the microphone. Press the
LOCK button to lock the selected frequency. This will disable the
frequency selector and the UP/DOWN buttons on the top of the
microphone. Repressing the LOCK button unlocks the frequency.
Use the SHF button to set the step frequency in 100Hz, 1KHz,
10KHz, 100KHz or 1MHz increments. The frequency step is
indicated by a small triangle directly under the corresponding digit
on the frequency display.
Mode Selection
To select an operating mode on your DX 2527, simply rotate the
MODE selector, and place it in the desired operating mode
position. The PTT switch on the microphone controls the transmit
and receive of your radio.
RF Power Control
This control adjusts the power output continuously from 1 to 25
watts, on SSB and from 0.25 to 10 watts on AM.
PROGRAMMING
Frequency Selection
Frequency selection in the radio can be accomplished using any
three of the following methods:
1. The first method of frequency selection I through the use of the
SHF key and the UP and DOWN arrows. To accomplish this,
press the SHF button until the cursor arrow is position under
the digit of the frequency that is to be changed. Then use the UP
arrow to increase the number. If a decrease in frequency is
desired, press the DOWN arrow. Perform the steps described
above for each digit of the frequency until the desired frequency
is displayed in the LCD display windows.
- 12 -
2. The second method of frequency selection is accomplished
using the SHF button and the channel select knob located on
the front panel. Use the SHF button in the manner described
above to select the digit to be changed. Then proceed to rotate
the channel selector knob clockwise to increase the frequency.
Rotate the channel select knob counterclockwise to decrease
the frequency.
3. The third method of selecting he operating frequency of the
radio is through the use of the SHF button and the channel UP
and DOWN buttons located on the microphone. Frequency
selection by this method is accomplished in the same manner
as with the UP and DOWN arrows on the keypad. The only
difference is that the channels UP and DOWN buttons on the
microphone are used.
Once a signal has been detected on a particular frequency, It may
be necessary to slightly change the frequency to provide the best
audio through the speaker. This can be accomplished by rotating
the clarifier control to vary the frequency by ±0.5 KHz. After this
fine-tuning has been accomplished, press the LOCK button to
lock in the frequency at the point of best reception.
Receive Scanning
The receive scanning feature allows you to locate active
frequencies in the entire band segment. To begin scanning,
slowly turn the squelch control clockwise until the receiver noise
disappears. Next, press the SCAN button. The unit should start
scanning from the lower to the higher frequency. Pressing the
SCAN button again will change the direction of scanning. When
the SCAN button is pressed "SCAN+" or "SCAN-" will be
displayed on the LCD display. The scan will stop on any active
frequency for the duration of the transmission. When the
transmission stops, the DX 2527 will wait approximately 2
seconds before it resumes scanning. If you want to deactivate
Scan mode while it's scanning, press the MAN (manual) button
- 13 -
