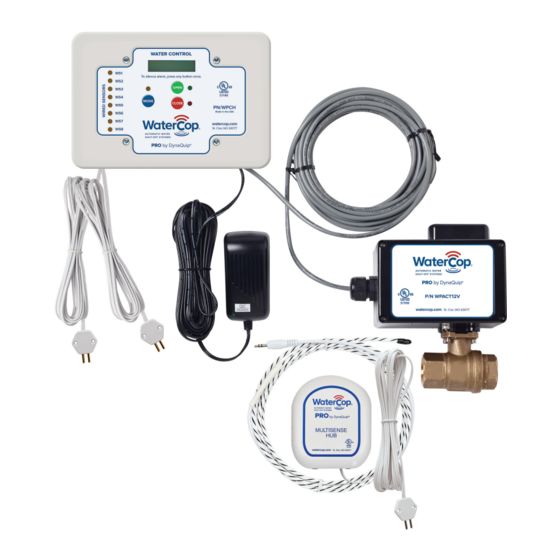
DynaQuip WaterCop ACA100 Руководство пользователя и руководство по установке - Страница 11
Просмотреть онлайн или скачать pdf Руководство пользователя и руководство по установке для Системы управления DynaQuip WaterCop ACA100. DynaQuip WaterCop ACA100 16 страниц.

2 . At one of the locations you have chosen to monitor, drop the sensor probe (not the mounted
transmitter) into a cup of water . Hold until you hear the sensor transmit a signal to the Water
Control Panel and close the valve (about 15 seconds) . This test simulates a leak and lets you
check for interference between the sensor and the Water Control Panel .
3 . Take the sensor out of the water and carefully dry off the sensor probe's prongs and
hexagonal body .
4 . Go back to your WaterCop® Pro Control Panel and verify that the valve has closed (the red
indicator light will be lit) . The display will indicate which sensor activated the valve .
5 . Keeping all objects away from the valve, reset the Water Control Panel by pushing the
OPEN button .
6 . Repeat steps 2 through 5 until you have tested each sensor in the locations that you wish
to monitor .
Troubleshooting
•
If the wireless sensor does not close the valve, check that the sensor has power and batteries
and/or AC adapter is installed correctly . Repeat test .
•
If the batteries have power and the wireless sensor still does not make the valve close,
physically remove it from its installed location and place it next to the Water Control Panel .
Repeat test . If the sensor operates properly when closer to the Water Control Panel, but not in
its final location, you likely need to use a Range Enhancing Repeater (WPR- sold separately) to
extend the effective range of the wireless signals . Some possible causes of signal reduction
are steel constructions, foil backed insulation or other large metallic barriers .
Installation of Wireless Sensor
Once testing is complete, finish installation of the wireless sensors by unwinding the cord and
placing the sensor probe on the surface at the lowest point (where water would naturally collect)
in the area to be monitored . Be sure that the sensor probe is placed FLAT on the floor so water
can be detected as soon as it begins to accumulate . The sensor probe may be secured to the
floor with screws or adhesive tape, taking care that the transmitter and wire are clear of doors,
drawers, sharp edges, or other hazards that may cause damage . Unplug the Water Control Panel
after the testing is complete . The WaterCop® Pro can now be installed into the plumbing system .
Prior to installation, read all warnings and precautions carefully .
Placement of Wireless Sensors
Each WaterCop® Pro can support up to 45 wireless leak sensors. A sensor consists of a
transmitter and sensor probe accessories (see pages 9 and 10) . Wireless sensors should be
placed in locations where leaks are most likely to occur .
Suggested Locations
•
Water Heaters
•
Toilets
•
Bathroom Sinks
Sensor probe can be placed under dishwasher or near water lines underneath the kitchen sink.
•
Washing Machines
•
Automatic Humidifiers
•
Dishwashers
•
Kitchen Sinks
•
Ice Makers/Refrigerators
•
Pipes that are prone to freezing
11
