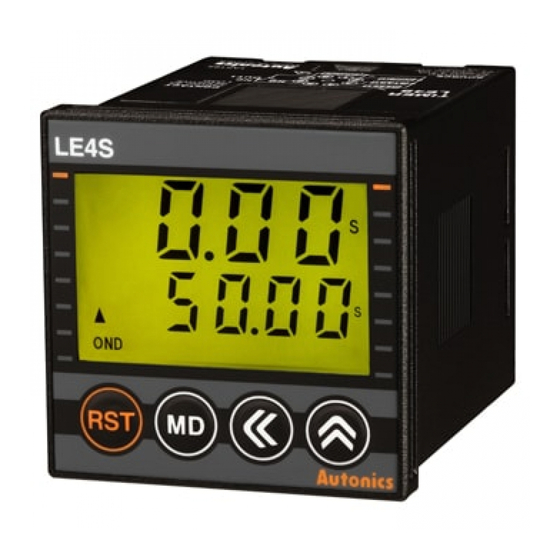
Autonics LE4SA Инструкция - Страница 16
Просмотреть онлайн или скачать pdf Инструкция для Таймер Autonics LE4SA. Autonics LE4SA 18 страниц. Din w48xh48mm digital backlight lcd timer
Также для Autonics LE4SA: Руководство (17 страниц)

Proper usage
Caution
It may give an electric shock if touch the input signal
terminal(Between START, RESET, INHIBIT and terminal
②) when the power is supplied.
Power connection
● Connect AC power line between (②-⑦) for LE4S, LE4SA
AC power type. Be careful of power connection for DC
power type. (②← ⊖, ⑦ ← ⊕)
● LE4S, LE4SA work stably within range of rated power.
(If using power line with another high voltage line or
energy line in the same conduit, it may cause inductive
voltage.
Therefore please use seperate conduit for power line)
Power start
● Caution for power rising time(100ms) after power on and
power falling time(100ms) after power off.
ON
Power
OFF
The unstable time
100ms
against the input signal
● Power ON Start
LE4SA model is starting after 100ms of supplying the
power due to rising time of other devices (sensor, etc.)
(refer to the above figure.)
For ower ON Start, under 100ms setting may cause
unstable operation. (it operates normally over 100ms
setting)
For using under 100ms time operation, use LE4S, Signal
ON Start type.
● Supply the power at once by a switch or relay contact,
otherwise it may cause timing error.
Input/Output
● Power terminal and Input terminal have not been
insulated because there is no power transformer in this
Timer.
① When using the sensor of SSR output type with input
terminal of timer, please check whether Double insulated
or not.
② Please use double insulated relay when connecting
relay output with input terminal.
● Please use 8 Pin socket when connecting this Timer
with other equipment and do not touch the socket when
power on.
● Please use Power supply with over current protection
circuit.(250V 1A fuse)
● When using relay contact as input signal, please use a
contact that can function reliable at 5VDC, 1mA.
● In case of connecting START terminal (③) and power
terminal (②) of LE4S, do not use it to start at the same
time applying power.
● LE4S is transformer less type, therefore please check
following for connecting relay contact for input signal and
transistor.
LCD Timer(Touch Type)
When connecting more than 2 timers with 1 relay contact
for input or transistor, please wire following <Fig. 2 >.
Please use relay contact or transistor to start.
(Time error can occurs under 100ms setting because of
rising time of Timer).
Input contact
or transistor
Short-
circuit
current
100ms
Input contact
or transistor
Please use transfomer with primary and secondary
isolated for input.
Sensor
● Be sure that the specifications of this unit. Because
when supplying the power to LE4SA, this unit operates
instantly. (If supplying the power without the right
checking, it may cause malfunction.)
●
,
,
as "0".
LE4S
START ③
RESET ④
INHIBIT ①
LE4S
START ③
RESET ④
INHIBIT ①
LE4S
START ③
RESET ④
INHIBIT ①
LE4S
START ③
RESET ④
INHIBIT ①
< Fig. 2 >
LE3S
START ③
RESET ④
INHIBIT ①
Rectification
Transformer
circuit
with isolation
< External sensor power supply >
operation modes are available to set
(A)
Photo
electric
sensor
(B)
Fiber
optic
sensor
(C)
Door/Area
sensor
(D)
Proximity
sensor
Power
(E)
Pressure
sensor
(F)
Rotary
encoder
(G)
Connector/
Socket
(H)
Temp.
controller
(I)
SSR/
Power
controller
(J)
Counter
Power
(K)
Timer
(L)
Panel
meter
(M)
Tacho/
Speed/ Pulse
meter
(N)
Display
unit
(O)
Sensor
controller
(P)
Switching
mode power
supply
Power
(Q)
Stepper
motor&
Driver&Controller
(R)
Graphic/
Logic
panel
(S)
Field
network
device
(T)
Software
(U)
Other
K-35
