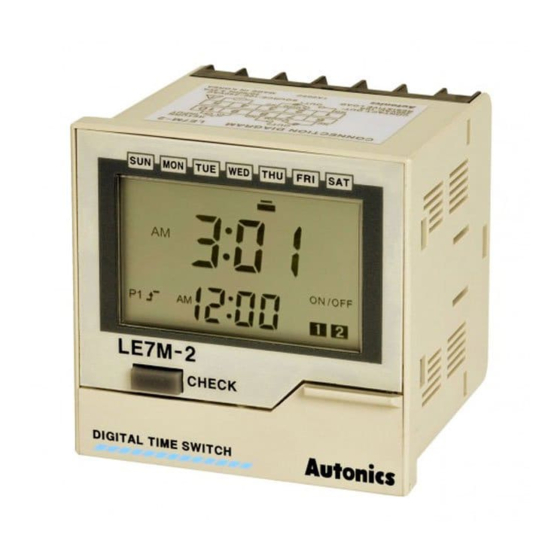
Autonics LE7M-2 Руководство - Страница 3
Просмотреть онлайн или скачать pdf Руководство для Таймер Autonics LE7M-2. Autonics LE7M-2 13 страниц. W72xh72mm lcd week/year digital timers
Также для Autonics LE7M-2: Руководство (13 страниц), Руководство (13 страниц), Руководство по эксплуатации (5 страниц)

Dimensions
1) Front panel mounting
72
2) Surface mounting
64
54.5
3) DIN rail mounting
67.6
How To Switch From The Flush Mounting To Surface Mounting Type
Remove terminals from the body after unscrewing terminal screws, and then assemble terminals to the body after rotating
terminals as shown below.
(Front panel mounting)
④ A ssemble case and
terminal block
⑧ A ssemble case and
terminal block
10.1
60.3
6.7
70.4
67
13.5
79.9
76.5
9.5
② D etach terminal block
① U nscrew 4 bolts
from terminal block
⑥ D etach terminal block
⑤ F ix terminal block
to case
⑨ F ix terminal block
to case
Weekly/Yearly Timer
Bracket
60
Panel hole cut-out
4-M3
54.5
67.6
50
2-Ø3.9
③ R otate 180˚ centering
from case
⑦ R otate 180˚ centering
from case
(Surface mounting)
(unit: mm)
Panel cut-out
Min. 91
9.5
vertical axis
vertical axis
SENSORS
CONTROLLERS
MOTION DEVICES
SOFTWARE
(J)
Temperature
Controllers
(K)
SSRs
(L)
Power
Controllers
(M)
Counters
(N)
Timers
(O)
Digital
Panel Meters
(P)
Indicators
(Q)
Converters
(R)
Digital
Display Units
(S)
Sensor
Controllers
(T)
Switching
Mode Power
Supplies
(U)
Recorders
(V)
HMIs
(W)
Panel PC
(X)
Field Network
Devices
N-83
