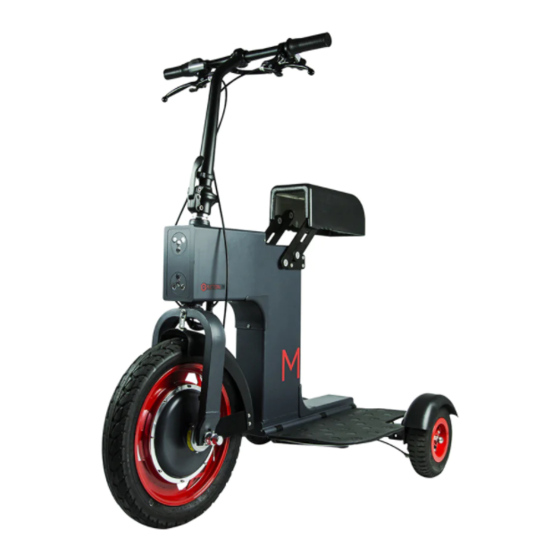
ACTON MX AM002 Руководство пользователя - Страница 12
Просмотреть онлайн или скачать pdf Руководство пользователя для Скутер ACTON MX AM002. ACTON MX AM002 15 страниц. Scooters mx am002

Assembly:
1.
Take the M Scooter and the Handlebar out of the box carefully
2.
Use the included Allen Wrench to loosen the two screws holding the stem
3.
Remove the screws and the stem head. DO NOT lose them!
4.
Place the handlebar in the stem
5.
Place the stem head back in place
6.
Adjust the handlebar to make sure it's properly centered and splines match.
7.
Reinsert and tighten the two screws with the attached Allen Wrench.
Disassembly:
To disassemble the handlebar, follow the assembly procedures in reverse order. Make sure the brake
and electrical cables does not have tensional force when storing the disassembled Scooter.
4.B. Folding & Unfolding
Make sure the M Scooter is turned off and parked on level ground with sufficient space to operate.
Failure to follow the instructions may result in sudden movement of the Scooter and/or injury.
UNFOLDING
1.
Use one hand to hold the front section of the Scooter chassis. Pull up the top portion of the
handlebar. Make sure both hands are a safe distance from the pivoting point.
2.
Pull the handlebar lock lever up and secure the lever with both hands. There is a final "soft
click" before the locking lever is in the secure position. The handlebar is only secured when
the lever is in a parallel position with the vertical bar and rigid.
3.
Rotate the black plastic safety lock until it locks through the hole in the lever.
4.
Put one hand on top of the handlebar and carefully tilt the Scooter to 15 – 25 degrees away
from you. This makes it easier to lift the rear wheel back into position. Lift one side at a
time, tilting the scooter away from yourself on alternating sides to lift a rear wheel.
5.
Grab the front section of the rear wheel and pull backward. This may be easier to do with
your foot- push it backwards until the spring pulls it into place.
6.
Lower the footpad carefully and lower the scooter so all wheels touch the floor. Make sure
the spacing block attached to the bottom of the footpad matches the gap between the rear
wheel beams.
7.
Repeat step 4 to 6 for the opposite side of the Scooter.
8.
Grab the seat at the position shown on the picture from both sides. Lift up and pull back
until the supporting beams firmly contact in the rearward position (about a 45 degree
angle).
FOLDING
To fold the Scooter, follow the unfolding procedures in reverse order. Make sure the Scooter is tilted
to one side before retracting the rear wheels (one at a time) and folding the foot pads up.
4. C.
Battery Charging
Use only the included AC Adapter and 110-240V indoor AC outlet. Check regularly for possible
damage to the cord, plug, enclosure or other parts. In the event of damage, do not attempt to
charge M Scooter until the charger has been repaired or replaced. Do not operate charger near
flammable materials. Make sure the power is turned off prior to removing/replacing batteries from
the Scooter. Never store the battery in freezing or below freezing temperatures as this may damage
the battery permanently.
The M Scooters may not have a fully charged battery when it first arrives. It is recommended to
charge the battery prior to your first use.
The charging port is located in the front of the glove box underneath the retractable seat. It is
accessible only when the seat is fully unfolded. Plug the charger to the battery first, then plug it into
the electricity outlet. When the charger is plugged in, the indicator on the charger will light up to
indicate the charge status. Red light indicates the charging is in process. Green light indicates the
charging is finished. It usually takes 3-5 hours to fully charge the battery. The charger has built-in
over-charge protection circuit to avoid being over-charged. It is normal that the charger may get
warm during use.
12
