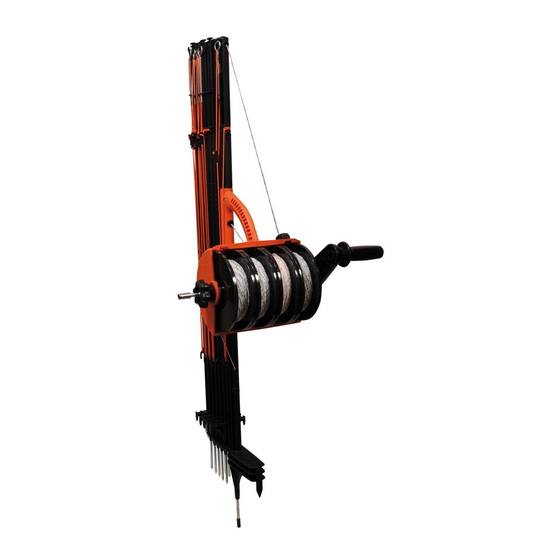
Gallagher SMART FENCE 2 Руководство - Страница 3
Просмотреть онлайн или скачать pdf Руководство для Ограждения и ворота Gallagher SMART FENCE 2. Gallagher SMART FENCE 2 14 страниц.

Train your animals
It is important to train your animals to respect the Smart Fence 2 BEFORE using it to contain them.
1.
Extend the fence into a secure, permanently-fenced enclosure, so your animals
can move around it freely.
2.
Let the animals investigate the fence and receive shocks off it. Don't rush this
stage - it may take a few days for your animals to become used to the fence and
learn to stay back from it.
3.
Remember, the minor discomfort they receive during this short training period is
more than offset by the long term gains of protection and containment.
NOTE:
To aid the learning process you might consider attaching half a dozen tinfoil strips on the
fence wires to encourage animals to investigate.
4.
Installing
STEP 1
STEP 2
Loosen lock nut
Pull out end post
(anti-clockwise).
and place in ground.
STEP 4
STEP 4a
Place posts in
NOTE:
ground as required.
On undulating land, additional intermediate posts may be
When a corner post
required. Gallagher provides a range of portable fencing
is required, use a guy
posts that are compatible with the Smart Fence 2.
rope to ensure the
post is straight (4a).
STEP 5
STEP 5a
Tension wire and lock nut (clockwise). When creating a temporary paddock, place the reel post
past the end post and complete by looping the top wire around the end post (5a).
Finally, use guy ropes to straighten posts (5b).
NOTE:
Do not wind
handle
anti-clockwise to
loosen wires.
If wires remain
tight loosen lock
nut further.
STEP 3
Pull out wires.
STEP 5b
5.
