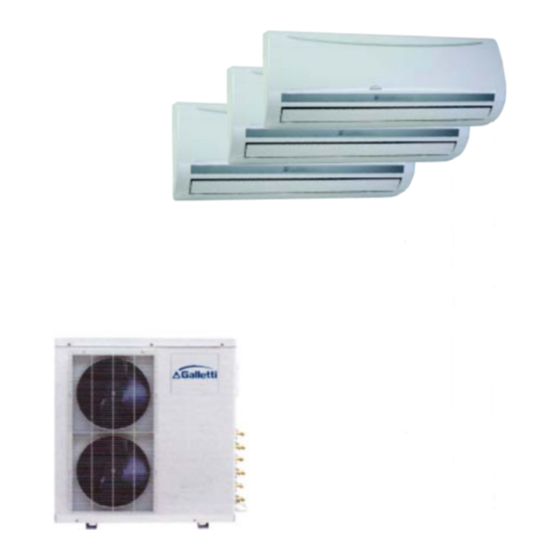
Galletti MS 999 H Руководство по установке и обслуживанию - Страница 9
Просмотреть онлайн или скачать pdf Руководство по установке и обслуживанию для Аксессуары для кондиционеров Galletti MS 999 H. Galletti MS 999 H 16 страниц. Multisplit with high wall indoor units
Также для Galletti MS 999 H: Руководство пользователя (16 страниц)

TUBAZIONE SINISTRA O POSTERIORE SINISTRA
1.
Per il collegamento della tubazione sinistra, togliere la boccola della
piastra posteriore dal lato sinistro della piastra posteriore stessa.
-
Spiegare al cliente che la boccola della piastra posteriore
deve essere conservata in quanto può servire nuovamente
in caso di spostamento del condizionatore in altro luogo.
2.
Far passare il tubo di collegamento attraverso l'apposito foro e
collegarlo al tubo ausiliario. Proteggere il tubo con nastro.
3.
Per il collegamento della tubazione posteriore sinistra, procedere
come indicato.
Piegare il tubo di collegamento in modo da posizionarlo a 43 mm di altezza
dalla parete o anche meno.
-
Installare il tubo flessibile di scarico nella parte interna della struttura
ed il cavo di collegamento sul fondo. Avvolgere il cavo di collegamento
con nastro saldamente e uniformemente.
Tubo di collegamento
4.
UNITÀ ESTERNA
-
Al fine di evitare un aumento della rumorosità e delle vibrazioni,
montare l'unità esterna su una base rigida.
-
Posizionare l'uscita dell'aria in un punto in cui il flusso di scarico non
sia bloccato.
-
Se il luogo previsto per l'installazione fosse esposto a forti venti,
come ad esempio in zone costiere o ad altitudini elevate, per
garantire il corretto funzionamento del ventilatore posizionare
l'apparecchio longitudinalmente sulla parete e utilizzare
schermature di protezione contro la polvere.
-
Nelle zone ventose, montare l'apparecchio in modo che il vento non
possa penetrarvi.
4.1
COLLEGAMENTO CONDOTTO REFRIGERANTE
1)
Tagliare il tubo con un tagliatubi
2)
Inserire un dado svasato nel tubo e svasarlo.
Contorno dell'unità interna
Indoor unit outline
Nota
Unità interna
Indoor unit
Connective pipe
Tubo di collegamento
Connecting piping
Nastro
Tubo di scarico
Piastra di fissaggio
Tape
Drain hose
Installation plate
ATTENZIONE
Svasatura
Diam. esterno
Outdoor diam
φ 6.35mm
φ 9.53mm
φ 12.7mm
LEFT-HAND OR REAR-LEFT-HAND PIPING
1.
For the left-hand piping, remove the rear plate bushing from the left
side of the rear plate.
-
2.
Pass the connective pipe through the pipe hole and connect it with
the auxiliary pipe. Cover the piping with tape.
3.
For the rear-left-hand piping, install the piping as shown.
Tubo di collegamento
Connective pipe
Parete
Wall
Bend the connective pipe to be laid at 43 mm height or less from the wall.
-
Install the drain hose at the inner part of the body and the connective
cable at the bottom. Wind the connective cable with tape securely,
evenly.
Cavi di collegamento
Connective cable
4.
-
Install the outdoor unit on a rigid base to privent increasing noise level
and vibration.
-
Determine the air outlet direction where the discharged air is not
blocked.
-
In the case that the installation place is exposed to strong wind such
as a seaside or high position, secure the normal fan operation by
putting the unit lengthwise along the wall or using a duct or shield
plates.
-
Specially in windy area, install the unit to prevent the admission of
wind.
Forti venti
Strong wind
4.1
1)
Cut a pipe with a pipe cutter.
Obliquo
Asperità
Sbavature
Oblique
Roughness
Burr
2)
Insert a flare nut into a pipe and flare the pipe.
Stampo
Tubo
Die
Pipe
A
Max
1.3
1.6
1.8
Explain to clients that the rear plate bushing must be kept
as it maybe used when relocate the air conditioner to any
other place.
Note
Tubo ausiliario
Auxiliary pipe
OUTDOOR UNIT
CAUTION
REFRIGERANT PIPING CONNECTION
Flaring
Min
0.7
1.0
1.0
