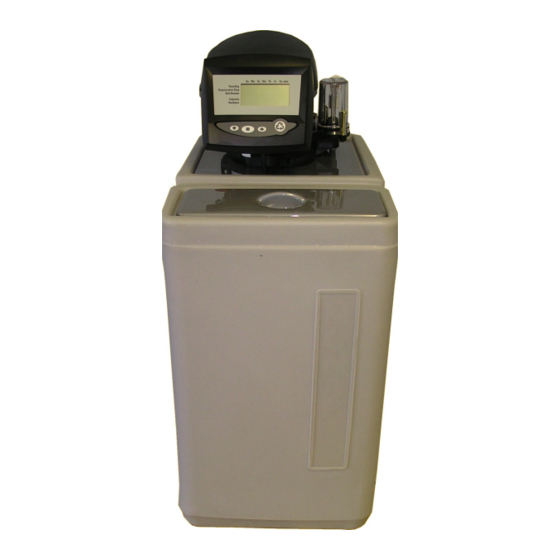
Coral 735 Руководство по установке - Страница 4
Просмотреть онлайн или скачать pdf Руководство по установке для Диспенсер для воды Coral 735. Coral 735 8 страниц. Ion exchange water softener

Overflow Connection.
The overflow connection is the white ½" hose spigot on the rear or side of the cabinet. A clip
is not required for this connection. The overflow must be run downhill through an outside
wall without kinks or restrictions. It is recommended the overflow hose be visible when it
exits the outside wall.
Electrical Connection.
Connect the transformer provided to a continuous electrical supply with the power off. Plug
the flying lead from the transformer into the electrical connection on the controller (see
programming instructions). Ensure the flying lead cannot get caught on the camshaft or any
moving parts on the Softener valve.
Preparing the Softener to go into service.
Now that all the connections have been completed put approximately 5 litres of water into the
brine tank. You may also at this point put a quantity of salt into the tank. Do not allow the salt
level in the brine tank to exceed the height of the overflow. The amount of salt used will
depend on the type and model of Softener you have, you should never let the brine tank
become completely empty of salt and it is advisable to check the salt levels on a regular basis
until a usage pattern has been established.
Putting the Softener into service.
You should now complete any programming instructions that may apply to your particular
Softener. During the commissioning process and initial regeneration you can confirm that the
unit has no leaks from the installed valves and that waste water runs free. This regeneration
will also assist in cleaning any potential air locks that may be present within the system.
The regeneration will also reset any internal meter or timer devises that dictate the frequency
of the regeneration cycle.
- 4 -
