Galvin Engineering CliniMix CP-BS Установка изделия Manualline - Страница 5
Просмотреть онлайн или скачать pdf Установка изделия Manualline для Сантехническая продукция Galvin Engineering CliniMix CP-BS. Galvin Engineering CliniMix CP-BS 16 страниц. Inwall thermo progressive shower mixer with galvincare handle w&c
3. Seal outer faceplate and fit inner faceplate
− Seal the outer faceplate to the wall using a
suitable sealant.
− Insert the inner faceplate followed by the
shower flange, ensuring the provided o-rings
are in place
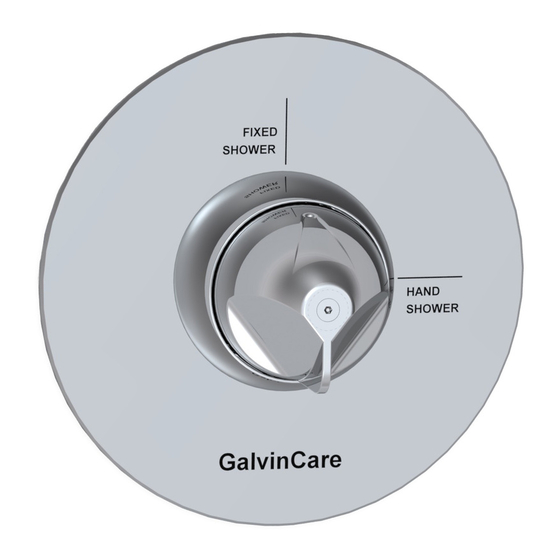
5. Fit handle
− Secure the handle with supplied tamper proof screw.
Ensure the handle is oriented correctly.
8.0
OPERATION AND TESTING
After installation, check for leaks and correct operation.
As the handle is rotated anti-clockwise the delivered water progresses from cold through
warm to the pre-set maximum temperature of approximately 41°C.
4. Secure flange
− Secure the flange with the three supplied screws.
− Use supplied M4x20mm long screws, if not
suitable change to M4x16mm long screws.
− Wipe off excess sealant on the outer faceplate
when secured to the wall.
Note: Before tightening the flange make sure the handle
fits correctly. Put screws into flange and tighten finger
tight, the flange should still be able to move. Slide the
handle onto spline and move the flange until central to
the handle. Remove handle and tighten the screws (it is
best to tighten the screws in sequence a little at a time to
avoid the flange moving). Refit handle.
Version 2, 31 October 2019, Page 5 of 16
Version 3, 14 December 2018, Page 5 of 16