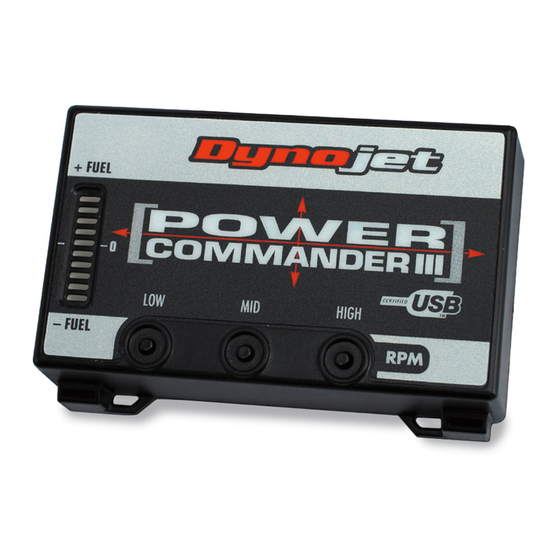
Dynojet power commander III Инструкции по монтажу - Страница 3
Просмотреть онлайн или скачать pdf Инструкции по монтажу для Автомобильные аксессуары Dynojet power commander III. Dynojet power commander III 3 страницы. 2004 kawasaki zx12r
Также для Dynojet power commander III: Инструкции по установке (5 страниц), Инструкции по установке (5 страниц), Руководство по установке (3 страниц), Инструкции по установке (4 страниц), Руководство по установке (3 страниц), Инструкции по установке (4 страниц), Руководство по установке (3 страниц), Инструкции по монтажу (3 страниц), Инструкции по установке (3 страниц)

