Gama Sonic GS-53W-PIR Руководство по эксплуатации - Страница 2
Просмотреть онлайн или скачать pdf Руководство по эксплуатации для Наружное освещение Gama Sonic GS-53W-PIR. Gama Sonic GS-53W-PIR 5 страниц. Weston solar lamp with motion sensor and changeable mounting options
For technical assistance and more information call our Toll Free number:
800-835-4113 (only within the US) or visit our website at: www.gamasonic.com.
Please read the instruction manual carefully to obtain the best results from your purchase.
Tools that are needed but not supplied with the solar post lamps are: a screw driver and a power drill.
Solar Lamp Location:
For optimum light duration throughout the night, it is very important to place the solar lamp in a spot
where it will receive the maximum amount of direct sunlight throughout the day.
Installation Instructions (Fig. 1)
GS-53P-PIR (Post Mount)
1. Use an electric drill to make four holes in the desired surface. Place provided anchors
into holes, place the base of the lamp (C) in line with the holes and attach with the
provided screws.
2. Screw part (A) into Part (C) and turn the On/Off switch in the lamp head (A) to ON
position according (Fig. 2).
GS-53W-PIR (Wall Mount)
NOTE: Install your solar lamp facing the south for best results.
1. Use an electric drill to make two holes in the wall, place provided anchors into holes,
place the wall bracket in line with the holes and attach with the provided screws.
2. Screw part (D) into Part (A) and turn the On/Off switch in the lamp head (E) to ON
position according (Fig. 2).
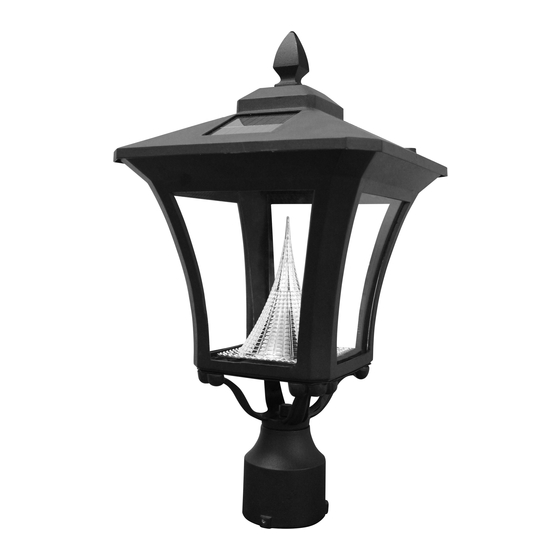
GS-53F-PIR (3" Fitter Mount)
NOTE: If you are replacing an existing gas/electric post light, you must consult a certified technician to
disconnect them before installation.
1. Screw Part (B) on top of the existing 3" post using the screws provided.
2. Screw Part (A) into Part (B) and turn the On/Off switch in the lamp head (E) to ON
position according (Fig. 2).