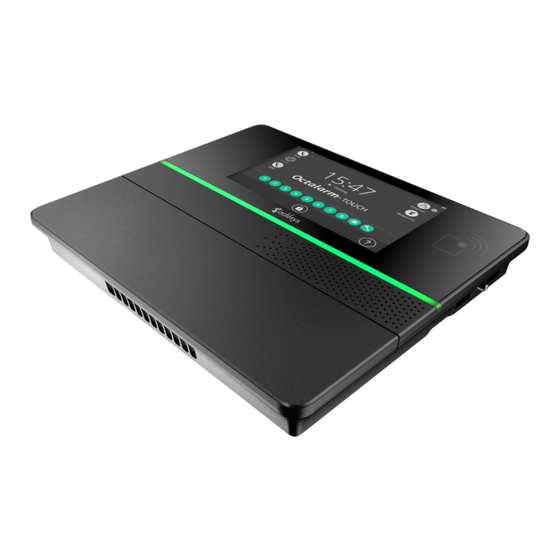
Adesys Octalarm-Touch Краткое руководство по эксплуатации - Страница 3
Просмотреть онлайн или скачать pdf Краткое руководство по эксплуатации для Сенсорная панель Adesys Octalarm-Touch. Adesys Octalarm-Touch 6 страниц.
Также для Adesys Octalarm-Touch: Краткое руководство по эксплуатации (6 страниц)

Octalarm-Touch Pro Marking plate label Enclosure, Europa (51 x 25mm)
2.
Installation
2.1.
Mounting the Octalarm-Touch Pro
Before connecting the Octalarm-Touch Pro, the unit needs to be
mounted on a wall or solid object. The Octalarm-Touch Pro can
be mounted by first placing screws in the wall before sliding the
mounting holes on the device over them. The screws must be
capable of supporting at least 1360 grams.
2.2.
Connecting the Octalarm-Touch Pro
To connect the Octalarm-Touch Pro, the cables must be connected
to the proper connection. These connections can be recognized and
distinguished by the connection sticker.
power
line
phone
eth0
eth1
power
line
line
phone
eth0
p
no nc
out
1
2
3
4
5
6
7
8
A B
1
1
2
p
no
nc
gnd
2
+12V
12V
power
phone
eth0
p
no nc
1
eth1
p
no
nc
2
Octalarm-Touch Pro Marking plate label packaging, Europa (71 x 36mm)
Connector description
1
Primary power (C5 connector)
2
PSTN line in (RJ11)
3
PSTN Phone (RJ11)
4
Ethernet RJ45
battery
power
5
Ethernet RJ45
power
6
Relay contacts
power
line
7
Open-drain outputs
line
phone
8
Inputs
power
line phone
9
RS485 data connection
p
no nc
out
1
1
p
no
nc
eth1
2
+12V
10 Connector for batterij
out
1
2
3
4
5
1
2
gnd
+12V
power
power
line
phone
line
phone
eth0
phone
eth0
p
no nc
1
p
eth0
eth1
2
p
no nc
1
p
no
eth0
eth1
2
1
2
3
4
5
6
2
gnd
6
7
8
A B
12V
power
line
phone
line
phone
eth0
eth1
p
no nc
1
p
no nc
eth1
2
p
no nc
out
1
1
p
no
nc
eth1
2
+12V
out
1
2
3
1
2
no
nc
+12V
out
1 2 3 4 5 6 7 8
A B
1
2
nc
gnd
+12V
7
8
A B
12V
battery
li
eth0
p
1
p
1
2
4
g
12V
