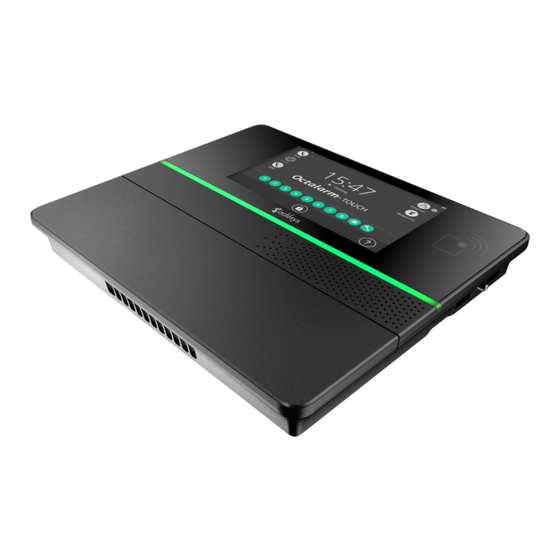
Adesys Octalarm-Touch Краткое руководство по эксплуатации - Страница 3
Просмотреть онлайн или скачать pdf Краткое руководство по эксплуатации для Сенсорная панель Adesys Octalarm-Touch. Adesys Octalarm-Touch 6 страниц.
Также для Adesys Octalarm-Touch: Краткое руководство по эксплуатации (6 страниц)

2.
Installation
2.1.
Mounting
The Octalarm-Touch housing is suitable for wall mounting:
•
mount screws in the wall or panel;
•
slide the device's mounting holes over them.
Caution: keep in mind that the screws must be able to support
at least 1360 grams combined.
2.2.
Connecting
The connection sticker shows how to connect the various cables.
p
1
no nc
p
no
power
line
phone
usb
eth
2
Connector description
1
Primary power (C5 connector)
2
PSTN line in (RJ11)
3
PSTN Phone (RJ11)
4
USB port for service purposes
5
Ethernet RJ45
6
Relay contacts
7
Open-drain outputs
8
Inputs
9
RS485 data connection
10
Connector for batterij
2.3.
Stable internet connection
You should connect the Octalarm alarm dialler to a stable
internet connection. If a firewall is used in the corporate network,
please refer to the information What to do in case of a firewall in
the corporate network (https://docs.octalarm.com/link/firewall/
en-GB):
1
out
2
1
2
3
4
5
6
7
8
A B
nc
gnd
+12V
12V
battery
3.
Components explained
3.1.
Screen
Scherm pictogrammen
1
Touchscreen
2
RFID reader
(Keep the supplied RFID Tag within 10
mm of the RFID scanner.)
Caution: using sharp objects on the touchscreen may cause
damage.
3.2.
Power
Insert the supplied power cable into the S-shaped holder; this
creates a strain relief.
Caution: the power supply cable must comply with
IEC 60227-1.
3.3.
Battery
Battery compartiment
1
Velcro fastener
2
Battery connector location
Caution: only use the battery for the Octalarm-Touch (A-Batt-
6,4V) supplied by Adésys! This battery has been developed by
Adésys, has been fully tested and has a communication chip.
