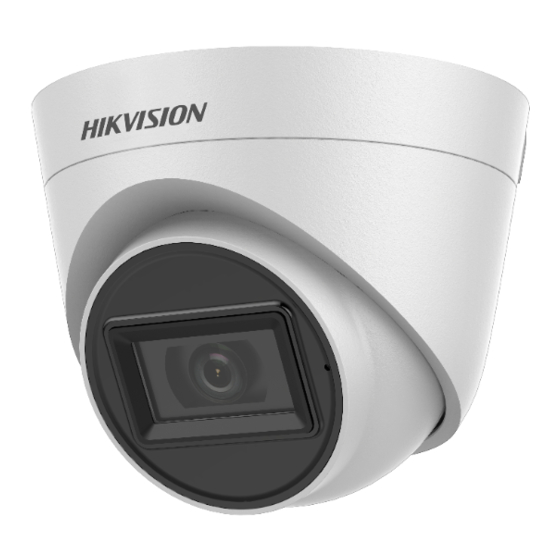
HIKVISION D0T Руководство пользователя - Страница 10
Просмотреть онлайн или скачать pdf Руководство пользователя для Камера безопасности HIKVISION D0T. HIKVISION D0T 17 страниц. Audio turret camera
Также для HIKVISION D0T: Руководство пользователя (17 страниц), Руководство пользователя (17 страниц), Руководство пользователя (15 страниц), Руководство пользователя (11 страниц), Руководство пользователя (11 страниц)

5. Secure the junction box's body on the ceiling with
four PA4 × 25 screws and expansion bolts.
Figure 2-15 Secure the Junction Box on the Ceiling
6. Route the cables through the bottom cable hole, or
the side cable hole of the junction box.
7. Combine the junction box cover with its body.
Figure 2-16 Combine the Junction Box's Cover back to
8. Repeat the step 5 to 7 of 2.1.1 Ceiling/Wall
Mounting without Junction Box to finish the
installation.
2.3 Installation of Type III Camera
2.3.1 Ceiling/Wall Mounting without Junction Box
Before you start:
The installation of ceiling mounting and wall mounting
are similar. Following takes ceiling mounting as an
example.
Note:
For installation with junction box refers to 2.2.2
Ceiling/Wall Mounting with Junction Box.
1. Disassemble the turret camera by loosening the
screw.
2. Remove the mounting base from the main body.
Figure 2-17 Remove the Mounting Base
3. Drill the screw holes and the cable hole (optional)
on the ceiling.
4. Secure the mounting base to the ceiling with
supplied screws.
its Body
