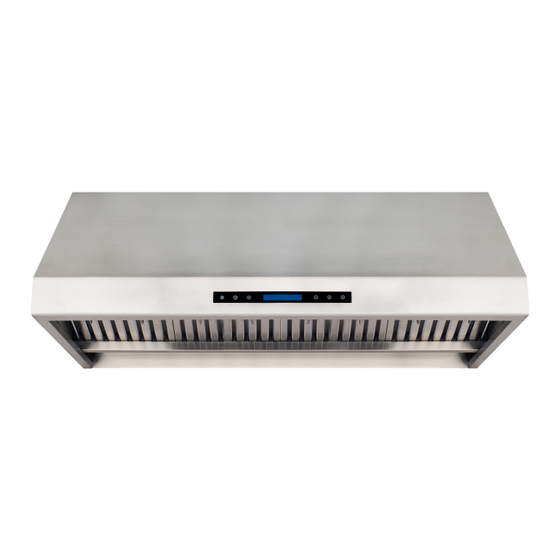
Adexa AP238-PS83-36 Руководство по установке / Руководство по эксплуатации и уходу - Страница 11
Просмотреть онлайн или скачать pdf Руководство по установке / Руководство по эксплуатации и уходу для Вентиляционная вытяжка Adexa AP238-PS83-36. Adexa AP238-PS83-36 20 страниц. Under-mount hood

ELECTRICAL REQUIREMENTS AND
INSTALLATION WARNING
THIS RANGE HOOD MUST BE PROPERLY GROUNDED. TURN OFF ELECTRICAL POWER AT SERVICE ENTRANCE
BEFORE WIRING. CHECK TO MAKE SURE THAT THE ELECTRIC CORD IS NOT IN CONTACT WITH THE SHARP
EDGES OF THE APPLIANCE.
IMPROPER GROUNDING CAN RESULT IN A RISK OF ELECTRIC SHOCK. CONSULT A QUALIFIED ELECTRICIAN IF
THE GROUNDING INSTRUCTIONS ARE NOT COMPLETELY UNDERSTOOD OR IF THERE IS DOUBT AS TO
WHETHER THE APPLIANCE IS PROPERLY GROUNDED. DO NOT USE AN EXTENSION CORD. IF THE POWER
SUPPLY CORD IS TOO SHORT, HAVE A QUALIFIED ELECTRICIAN INSTALL AN OUTLET NEAR THE APPLIANCE.
• This appliance must be plugged into an outlet that is properly installed and grounded. In the event of
an electrical short circuit, grounding reduces the risk of electric shock by providing an escape wire
for the electric current.
• Position the outlet offset so that the power cord will not interfere with the round duct. Make sure
this does not interfere with the mounting bracket.
ADVANCED PREPARATION
WARNING
Three or more persons are required to move and
install this range hood. Spinal or other bodily injuries
could occur if these instructions are not followed.
• Decide on the location of the venting pipe from the hood to the outside.
• A straight, short vent run will allow the hood to perform more efficiently. Try to avoid as many
transitions, elbows and long runs as possible. This may reduce the hood's performance.
• Use duct tape to seal joints between pipe sections.
• For installing under the cabinet with recessed bottom, attach 4'' wide wood filler strips (not
provided) on each side. See Figure 1.
• Using references in measurements and installation diagrams (see page 7), create access
opening for electrical wires and hood exhaust under thecabinet.
CAUTION: If moving the cooking range to install the hood, turn OFF the power at the main electrical box.
SHUT OFF THE GAS BEFORE MOVING A GAS RANGE.
1
Figure
• Puncture the knockout holes (for mounting under the cabinet) on the hood as shown in Figure 2.
• If necessary, attach two rubber stands with adhesive tapes to the back corners of the hood.
• Attach ducting transition to hood exhaust with included 10 round head screws as shown in Figure 3.
WARNING
Risk of severe injury
Rotating fan can cause severe injury.
Stay clear of fan when motor is running
2
Figure
11
.
