Green GT790 Руководство пользователя и руководство по установке - Страница 11
Просмотреть онлайн или скачать pdf Руководство пользователя и руководство по установке для Кондиционер Green GT790. Green GT790 19 страниц. Electric air-conditioning unit green gt790 12.000btu 12v

6.
INSTALLATION
INSTRUCTIONS
Before the air-conditioner is installed at the first
time, check if you have received all necessary
components and accessories
•
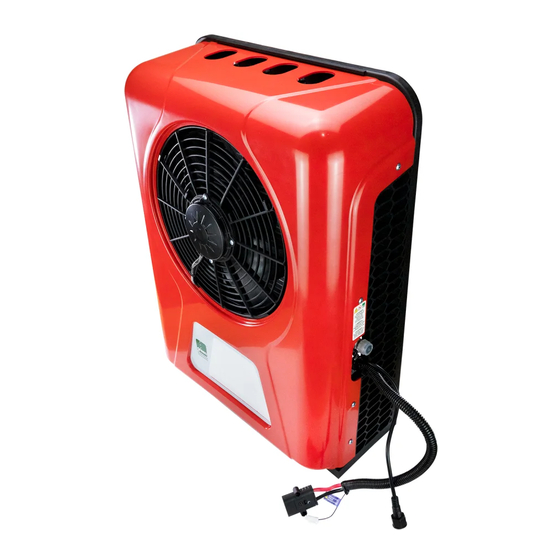
Outside (Condenser Unit): Choose
the position and place for the
installation and make 6 holes at the
driving cabin. Fixation screws shall
be of type MB Grau 12.9. A padded
damping must be placed between
the external unit and the driving
cabin.
•
Inside
(Evaporator
Unit):
It
recommended the internal unit to
be installed at the right side of the
passenger's seat. First, assemble a
wooden board at the driving cabin
with self-tapping screws. Screws
might also be used to break the board
and fix it on the cabin bar. 4 screws
should be used, at least). After the
wooden board is fixed, use self-tap-
ping screws to fix the Evaporator
Unit along with the wooden board.
On each side of the Evaporator Unit
there are 3 screw-holes, if necessary,
screws must only be inserted.
Electric Air-Conditioning Unit Green GT790 12.000BTU 24V - DS540059
20
Electric Air-Conditioning Unit Green GT790 12.000BTU 12V - DS630051
•
After the Condenser Unit and the Evapora-
tor Unit are fixed, connect the pipes and
install the Expansion Valve. During installa-
tion, observe if part of the valve junction
and the connection pipe are clean. Check if
the sealing ring is NOT damaged and pour
in the appropriate quantity of refrigerant
before installation is made.
is
•
Connection of power cables:
- All electric cables of the Evaporator Unit
and Condenser Unit come with the spe-
cific connectors;
- Organize the wires to avoid any wrong ca-
ble crossing;
- During the installation of battery cables,
it is extremely important to check if the
positive (red) and negative (black) poles
are not inverted;
- If the power cable length is too short, you
might extend it for a maximum of 1,5m
and, the connector must be protected
(waterproofed).
IMPORTANT:
The air-conditioning
power cable shall be connected to
the battery´s positive and negative
terminal connectors, only, after the
Evaporator Unit and the Condens-
er Unit are installed. And, the total
length of the power cable shall NOT
be longer than 5 meters.
•
For the system´s vacuuming process
it is essential to use a specialized
vacuuming pump:
- Connect the (high/low pressure)
hoses along with the vacuuming
pump to the Condenser Unit;
- Open Manometer (high/low pres-
sure) valves, completely;
- Start the vacuuming process for,
approximately 20 minutes, check
if all pressurized air has been emp-
tied from the system. After doing
ATTENTION: The system is filled in with oil before its delivery.
After first installation, do not complete with more oil. In case of
any refrigerant leakage while the air-conditioner is being used,
add 80mL of oil. But you should use high-quality oil (ISO VG68).
Electric Air-Conditioning Unit Green GT790 12.000BTU 24V - DS540059
Electric Air-Conditioning Unit Green GT790 12.000BTU 12V - DS630051
so, close (high/low) pressure valves
and wait for 10 minutes. Check if
the manometer´s pressures re-
main unchanged, and only, then,
it is possible to fill in with Refriger-
ant R134a without contrast;
- After the refrigerant has been
filled into the system, turn on the
air-conditioner and check if high/
low pressure figures are according
to the normal parameters (high
pressure:
1.2-1.4,
low
pressure:
0.2-0.25);
- With the air-conditioning system
on, test all the air-conditioner´s
operational modes, checking if all
functions are on normal opera-
tion. After the device turns back to
its normal function, turn it off and
wrap in the connection pipes with
binders. Then, apply sealant and,
finally, install the boards to close
the holes.
21
