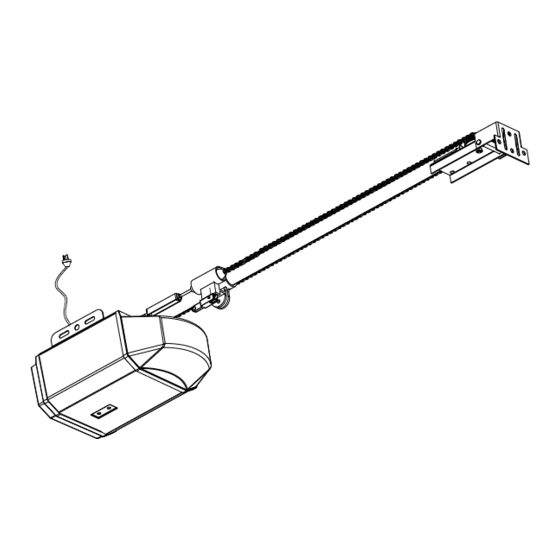
Centurion SDO-10 Инструкции по установке и руководство пользователя - Страница 16
Просмотреть онлайн или скачать pdf Инструкции по установке и руководство пользователя для Открыватель двери гаража Centurion SDO-10. Centurion SDO-10 19 страниц. Sectional and tilting door opener

Mounting
Locate the Safety Beam mounting brackets provided.
Mount the bracket so that its bottom edge sits 125mm off the floor.
Use the 2 mounting screws provided to fasten each mounting bracket to the wall.
Use the 2 screws and nuts provided to fasten the 2 Safety Beam modules ("Emitter" and "Receiver") to
the mounting brackets so that the LED Indicator on each Safety Beam module is facing upwards.
Connection – To Beam Modules
Use the 2 lengths of Figure 8 Cable provided.
Strip back a 15mm length of outer insulator from each of the 4 cable ends.
Connect the cables to the screw terminals of the Safety Beams as depicted in Fig.12A.
Securely fix the cable up and along the wall and run one length of each cable adjacent to the output
terminals of the AGDO. (Fig.11)
Connection – To AGDO
Ensure that the AGDO is switched off.
Strip back a 15mm length of outer insulator from each of the 4 cable ends.
Connect the cables to the Output Terminals "SB" & "SW" located within the rear cover of the AGDO.
(Figs.11 & 12A)
Alignment
Ensure that the AGDO is switched on and that the red LED located along the top edge of the "Emitter"
Safety Beam module is glowing red.
Adjust the "Emitter" Safety Beam module (by turning the mounting bracket) so that it is aimed directly at
the lens of the "Receiver" Safety Beam module. An indicator lamp located along the top edge of the
"Receiver" will glow green once the correct alignment has been achieved.
Test the Safety Beam alignment several times each time ensuring that when the Safety Beams are
obstructed the green LED extinguishes and when unobstructed it glows solid.
Firmly tighten the Safety Beam mounting bracket fixing screws.
Installation of the Safety Beams is now complete.
Enabling
The function select Dip Switches are contained within the rear cover of the AGDO
Select Dip 1 to the "ON" position.
Testing
As the garage door is closing pass an object through the line of the Safety Beams. If the Safety Beams are
functioning correctly the AGDO should stop and then immediately reverse direction.
If the garage door commences a close cycle but within 1 second stops and reverses, check that the Safety
Beams are aligned correctly.
Override
In the event of Safety Beam malfunction the garage door can be closed by pressing and holding the "Run"
button (Fig.11) until such time as the garage door is fully closed and has stopped.
Note: If "Run" button is released prior to the garage door reaching the fully closed position the AGDO
will stop and then reverse direction.
OPTIONS AND FEATURES
- 16 -
SDOPD
