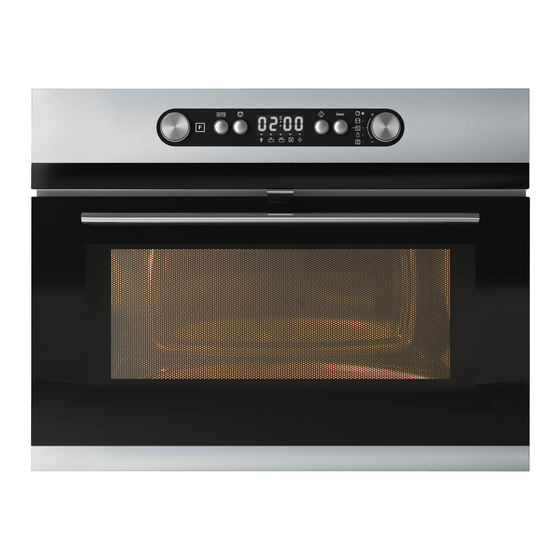
IKEA NUTID MWC 6 Руководство пользователя - Страница 9
Просмотреть онлайн или скачать pdf Руководство пользователя для Печь IKEA NUTID MWC 6. IKEA NUTID MWC 6 26 страниц. Nutid
Также для IKEA NUTID MWC 6: Руководство пользователя (27 страниц), Руководство по установке (12 страниц), Руководство (27 страниц)

ENGLISH
This is done by selecting a Doneness level
with the adjust knob right after you have
pressed the Start button.
NOTE:
The doneness can only be set or altered
during the first 20 seconds of operation.
Doneness
Level
Effect
H 2
YIELDS HIGHEST END
TEMPERATURE
H 1
YIELDS HIGHER END
TEMPERATURE
- - - -
DEFAULT STANDARD SETTING
Lo1
YIELDS LOWER END
TEMPERATURE
Lo2
YIELDS LOWEST END
TEMPERATURE
Cooling down
When a function is finished,the oven carries
out a cooling procedure.
This is normal.
After this procedure the oven switches off
automatically.
The cooling procedure can be interrupted
without any harm to the oven by opening
the door.
Kitchen timer
Use this function when you need a kitchen
timer to measure exact time for various
purposes such as cooking eggs or letting the
dough rise before baking etc.
1
1. Turn the multifunction knob to zero
position.
2. Turn the adjust knob to set the time to
measure.
The timer automatically starts the countdown
after 1 second.
An acoustic signal will be heard when the
timer has finished to count down.
Clock
When the appliance is first plugged in or
after a power failure, the display is blank. If
the clock is not set, the display will remain
blank until the cooking time is set.
1
1. Turn the multifunction knob to zero
position.
2. Press the select button (3 seconds) until
the left-hand digit (hour's) flicker.
3. Turn the adjust knob +/- to set the hours.
4. Press the select button again. (The two
right hand digits (minutes) flicker).
5. Turn the adjust knob to set the minutes.
6. Press the select button again.
The clock is set and in operation.
If you wish to remove the clock from the
display once it has been set, simply press the
Select button again for 3 seconds and then
press the Stop button.
To reinstate the clock , follow the above
procedure.
NOTE: keep the door openwhile setting
the clock. This gives you 10 minutes to
complete the setting of the Clock. Otherwise,
each step must be accomplished within 60
seconds.
2
9
2/4/6
3/5
