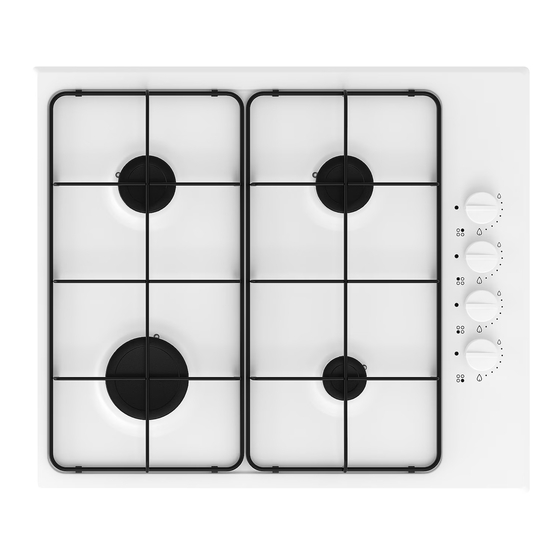
IKEA Lagan HGA4K Руководство по эксплуатации - Страница 12
Просмотреть онлайн или скачать pdf Руководство по эксплуатации для Варочная панель IKEA Lagan HGA4K. IKEA Lagan HGA4K 20 страниц. Ikea hobs instruction manual
Также для IKEA Lagan HGA4K: Руководство пользователя (16 страниц), Руководство по эксплуатации (24 страниц), Руководство пользователя (28 страниц), Руководство по эксплуатации (24 страниц), Руководство по эксплуатации (16 страниц)

ENGLISH
The connection of the cooktop to the gas
pipe network or gas cylinder must be made
by means of a rigid copper or steel pipe
with fittings complying with local regula-
tions, or by means of a continuous surface
stainless steel hose complying with local
regulations.
If you see any abnormalities do not re-
pair the pipe, contact local After Sales
Service (refer to the Service chapter).
The connection must be installed correctly,
fixed into hob connection pipe. Otherwise it
will cause leakage of gas
Warning! Once the installation is
complete, check the perfect seal of
every pipe fixing. Use soapy water, never
flame.
Electrical connection
Before connecting, check that the nominal
voltage of the appliance stated on the rat-
ing plate, corresponds to the available sup-
ply voltage. Also, check the power rating of
the appliance and ensure that the wire is
suitably sized to suit the appliance power
rating (refer to the Technical data chapter).
The rating plate is located on the lower cas-
ing of the hob.
Electrical Requirements
Permanent electrical installation must com-
ply with the latest I.E.E. Regulations and lo-
cal Electricity Board regulations. For your
own safety the installation must be done by
a qualified electrician (e.g. your local Elec-
tricity Board, or a contractor who is on the
roll of the National Inspection Council for
Electrical Installation Contracting [NICEIC]).
The manufacturer declines any liability if
these safety measures are not observed.
The appliance must be connected to a 230
V 50 Hz AC electrical supply.
Before activating the appliance, make sure
the electrical supply voltage is the same as
that indicated on the rating plate. The rat-
ing plate is located on the bottom of the
appliance.
The appliance is supplied with a 3 core
flexible supply cord requiring a 3 amp plug.
You must obtain and install the plug. The
wires in the mains lead are coloured in ac-
cordance with the following code:
Green and yellow
Blue
Brown
1. Connect the green and yellow (earth)
wire to the terminal in the plug which is
marked with the letter 'E' or the earth
symbol
, or coloured green and yel-
low.
2. Connect the blue (neutral) wire to the
terminal in the plug which is marked
with the letter 'N' or coloured black.
3. Connect the brown (live) wire to the ter-
minal in the plug which is marked with
the letter 'L' or coloured red.
There must be no cut or stray strands of
wire present. The cord clamp must be cor-
rectly attached on the outer sheath.
Warning! Make sure that the cut off
plug is disposed of safely. A cut off
plug put into a 13 amp socket is a safety
hazard. There is a risk of electrical shock.
Important! The replacement of the
electrical cable must be done by a qualified
electrician or competent person, according
to the current regulations.
Replacement of the connection cable.
Warning! The replacement of electric
cable must be carried out exclusively
by the After Sales Service or by personnel
with similar competencies, in accordance
with the current regulations.
If the connection cable must be replaced,
only a type H05V2V2-F T90 cable must be
used. The cable section must be suitable to
the voltage and the working temperature.
The yellow/green earth wire must be ap-
proximately 2 cm longer than the brown (or
black) phase wire.
12
- Earth
- Neutral
- Live
