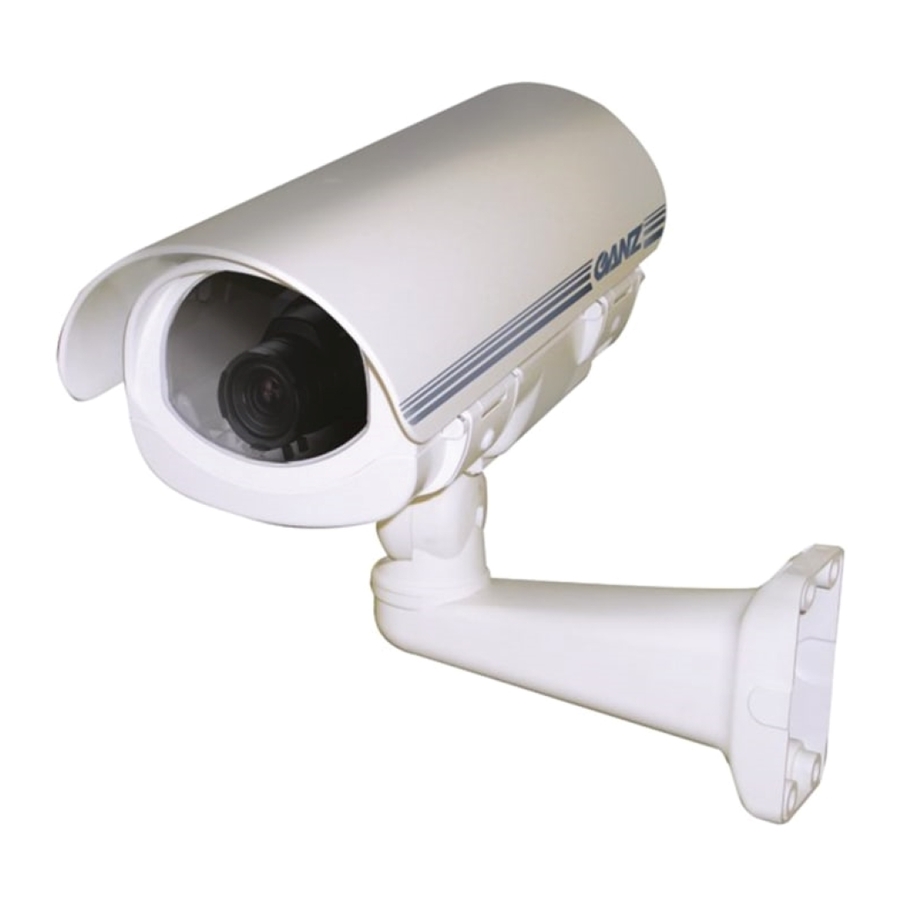
Ganz GH-230KIT Руководство по установке и эксплуатации - Страница 6
Просмотреть онлайн или скачать pdf Руководство по установке и эксплуатации для Камера безопасности Ganz GH-230KIT. Ganz GH-230KIT 16 страниц.

Power supply board installation
Follow these steps:
1.
Open the housing like above indicated.
2.
Take note of the existing cabling provided. After that,
disconnect the cabling from the power distribution board
unscrewing the terminal strips. Remove the nylon spacer
that support the board.
3.
By screws provided into the packaging, fix the hexagonal
spacer in-yard oriented (see fig.5).
4.
Fix the power supply board on hexagonal spacers,
orienting the output "VO" on upper side.
5.
Connect the camera power conductors to the appropriate
terminals "VO".
6.
Connect the main power supply input conductors to
appropriate
"230Vac"
heater/thermostat to terminals "230HT".
In case you have not bought a KIT version of GH housing, the
power supply line have to be provided by a three conductors cable
running through the central PG11 gland inside of the housing: the
main power supply conductors have to be connected to the
appropriate terminal strips in the following way:
Meaning
Conductors color Terminal strip
MainPower IN
Blue/Brown
Out Heater
White
Out Camera
In addition, crimp the ground conductor to a ring terminal and fix it
to the point identified by Ground symbol by the M4 screw provided.
Video connection
In case you have not bought a KIT version of GH housing, you will
need to run a RG-59/U cable through one of the side glands PG9,
crimp it and connect to the camera. Verify the proper water seal of
the gland.
In case of GH housing Kit, connect the provided coaxial cable with
BNC connector to camera video output.
Aux camera/lens/housing control connection
In case you need auxiliary connection cabling with camera station
(for example motorized zoom, tamper sensors, camera serial port),
run a multiconductors cable by one of the PG9 gland inside of the
housing.
Verify the proper water seal of the gland after cable running.
ENCLOSURE ASSEMBLY
Back side body part re-assembly
If this will be the latest operation to complete the housing body
closure, insert the desiccant bag (without plastic protection) inside
of the body before to proceed.
Place the back side body part lining up the fixing holes to the
screws. Push the two parts each other until they are properly
combined. For better insertion and good tight against dust or avoid
any water leaking, we suggest to spread a thin layer of syliconic
lubricant over the O ring. Then tie the screws, following a cross
fixing order.
Front side body closure
If this will be the latest operation to complete the housing body
closure, insert the desiccant bag (without plastic protection) inside
of the body before to proceed.
Line up the fixing merkers of the central aluminum body with the
front body part ones and push the two parts until they are properly
combined (see fig.8). For better insertion and good tight against
dust or avoid any water leaking, we suggest to spread a thin layer
of silicon lubricant over the O ring. Fix the closure operating over
the (3) springs.
Fixing of sunshield
Re-positioning of the sunshield on the holding point(s).
Insert the fixing screw(s) and tie.
NOTES
1.
In case you need to make a simple service for
programming or adjustment on camera or lens you need
basically to access just the front side body part of the
housing. For more safe operation don't open the back side
part, in this case.
2.
Every time you will open the housing, to avoid any
condensation effect, please change the desiccant bag with
a new one.
terminals
and
the
ones
230Vac
230 HT
VO
The GH housing series is a light and medium/small enclosure for
CCTV camera/lens outdoor application. Nevertheless, especially
outdoor application can face severe environmental condition like
strong wind, heavy snow and ice in addition to a suitable load
bearing.
This require to the installer the maximum and careful attention on
fixing the camera station in the proper and safety way.
For example, to fix a camera station using GH housing series with
its own adjustable head and bracket on a wall, we suggest you to
use (4) steel fasteners with 12 mm external diameter and M6 bolt
with 10mm head.
Use as drilling mask a photocopy 1:1 of the latest page of this
manual reporting the bracket and cable running holes layout
for
positioning.
Technical specification
Dimension (W x H x D)
Front Body Part:
Central Body Part:
Back side Body Part:
Bracket/Adj. Head:
Sunshield:
Weight:
Housing:
Bracket/Adj. Head:
Sunshield::
Consumption
GH-230-KIT:
GH-24-KIT:
GH-12-KIT:
IPrate:
Operating Temperature:
6
FIXING THE CAMERA STATION
118 x 118 x 184 (mm)
137 x 118 x 50 (mm)
118 x 118 x 100 (mm)
73 x 120 x 180 (mm)
145 x 83,5 x 395 (mm)
0,9kg
0,45kg
0,76kg
< 40 mA
< 350 mA
< 700 mA
IP 67
-20 °C to +50 °C
