IKEA FINSMAKARE Руководство - Страница 6

Просмотреть онлайн или скачать pdf Руководство для Вентиляционная вытяжка IKEA FINSMAKARE. IKEA FINSMAKARE 40 страниц.
Также для IKEA FINSMAKARE: Руководство (44 страниц), Руководство пользователя (20 страниц), Руководство (36 страниц), Руководство (33 страниц), Руководство (44 страниц), Руководство (12 страниц), Руководство (25 страниц), Руководство (40 страниц), Руководство (32 страниц), Руководство (17 страниц)
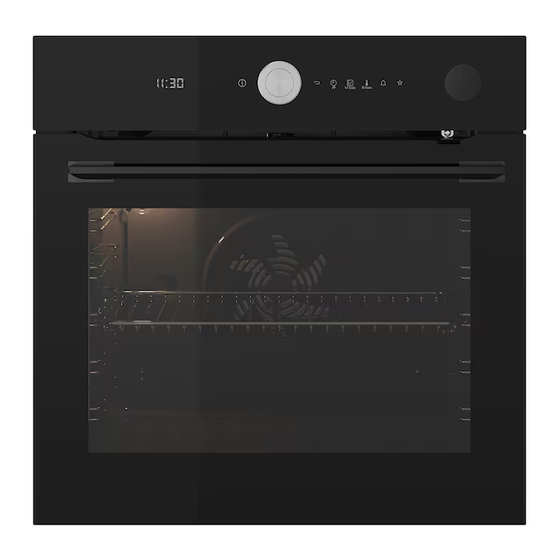
IKEA FINSMAKARE Руководство
ENGLISH
If the mains power supply cable is damaged, it must be
replaced by the manufacturer, its Authorised Service Centre
or similarly qualified persons to avoid an electrical hazard.
Before pyrolytic cleaning, remove all accessories and
excessive deposits/spills from the appliance cavity.
To remove the shelf supports first pull the front of the shelf
support and then the rear end away from the side walls.
Install the shelf supports in the opposite sequence.
The means for disconnection must be incorporated in the
fixed wiring in accordance with the wiring rules.
Use only the food sensor (core temperature sensor)
recommended for this appliance.

Safety instructions

Installation
Warning! Only a qualified person
must install this appliance.
• Remove all the packaging.
• Do not install or use a damaged
appliance.
• Follow the installation instructions
supplied with the appliance.
• Always take care when moving the
appliance as it is heavy. Always use safety
gloves and enclosed footwear.
• Do not pull the appliance by the handle.
• Install the appliance in a safe and suitable
place that meets installation
requirements.
• Keep the minimum distance from other
appliances and units.
• Before mounting the appliance, check if
the oven door opens without restraint.
Cabinet minimum
height (Cabinet under
the worktop mini‐
mum height)
Cabinet width
580 (600) mm
560 mm
Cabinet depth
Height of the front of
the appliance
Height of the back of
the appliance
Width of the front of
the appliance
Width of the back of
the appliance
Depth of the appli‐
ance
Built in depth of the
appliance
Depth with open door
Ventilation opening
minimum size. Open‐
ing placed on the bot‐
tom rear side
Mounting screws
6
550 (550) mm
589 mm
571 mm
595 mm
559 mm
569 mm
548 mm
1022 mm
560x20 mm
2x25 mm