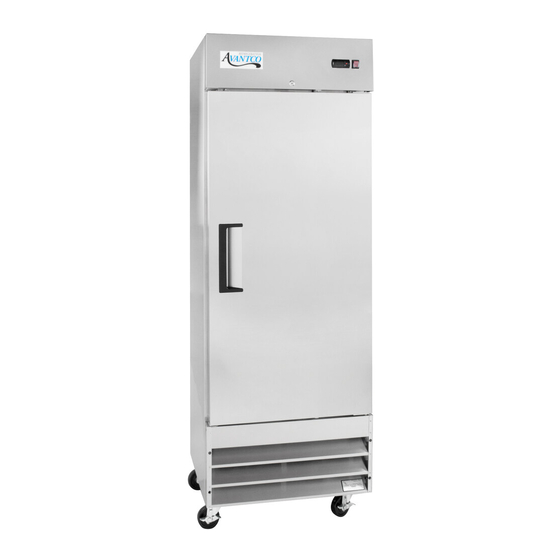
Avantco 178A12RHC Руководство пользователя - Страница 4
Просмотреть онлайн или скачать pdf Руководство пользователя для Холодильник Avantco 178A12RHC. Avantco 178A12RHC 8 страниц. Reach-in refrigerators & freezers
Также для Avantco 178A12RHC: Руководство пользователя (9 страниц)

User Manual
5. The door should come off at this point.
- Note: Do not lose the small round brass spacer on the bottom hinge!
6. Remove the bottom bracket. It is held on with 3 bolts.
7. Replace the bottom hinge with the new left hand bottom bracket. It is held on with 3 bolts.
8. At this point, you will need to adjust the top and bottom spring tensioners so the door will close
properly.
9. Put the door on the bottom hinge on the left side. You will need to reuse the brass spacer from
step 5.
10. Next, place the top bracket on the top of the door before bolting it to the unit with the 3 bolts.
11. Replace the small screws on the top and bottom of the bracket and door spring. Make sure the
door is on properly before you do this.
12. Reattach the bottom vent and the top panel
Cabinet Location Guides
• Install the unit on a strong and leveled surface.
- If the surface is uneven, the unit may be noisy.
- The unit may malfunction if the surface is uneven.
• Install the unit in an indoor, well ventilated area.
- For best performance, maintain 6" of clearance on both sides and the back of the unit at all times.
- Outdoor use may cause decreased efficiency and damage to the unit.
- Avoid direct sunlight.
• Avoid installation in a high humidity and / or dusty area.
- High humidity can cause the unit to rust and may decrease efficiency.
- Dust collected on the condenser coil may cause unit to malfunction.
- Malfunction due to high ambient temperatures, humidity, or improperly maintained
condenser coil will void the warranty.
• Select a location away from heat and moisture-generating equipment.
- High ambient temperatures may cause the compressor to malfunction.
- Malfunction due to high ambient temperatures and humidity will void the warranty.
- 4 -
