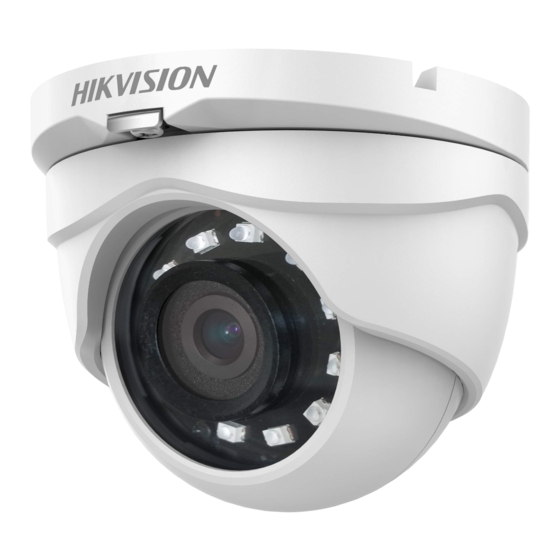
HIKVISION Turbo HD DS-2CES56C0T-IRPF Руководство пользователя - Страница 9
Просмотреть онлайн или скачать pdf Руководство пользователя для Камера безопасности HIKVISION Turbo HD DS-2CES56C0T-IRPF. HIKVISION Turbo HD DS-2CES56C0T-IRPF 10 страниц. Tvi bullet & turret camera

All manuals and user guides at all-guides.com
2.4
Installation of Type III Camera
Steps:
1. Attach the drill template (supplied) to the place
where you want to install the camera, and then drill
the screw holes and the cable hole (optional)
according to the drill template on the ceiling.
Note:
Cable hole is required when adopting ceiling outlet to
route the cable.
Figure 2. 9 Drill Template
2. Attach the mounting base to the ceiling and secure
them with supplied screws
Figure 2. 10 Attach the Mounting Base to the Ceiling
Note:
In the supplied screw package, both self-tapping
screws and expansion blots are contained.
If the wall is cement, expansion blots are required
to fix the camera. If the wall is wooden,
self-tapping screws are required.
3. Route the cables through the cable hole (optional),
or the side opening.
4. Align the camera with the mounting base, secure
the camera with the mounting base, and fix the trim
ring to the camera.
3 - Φ 4
