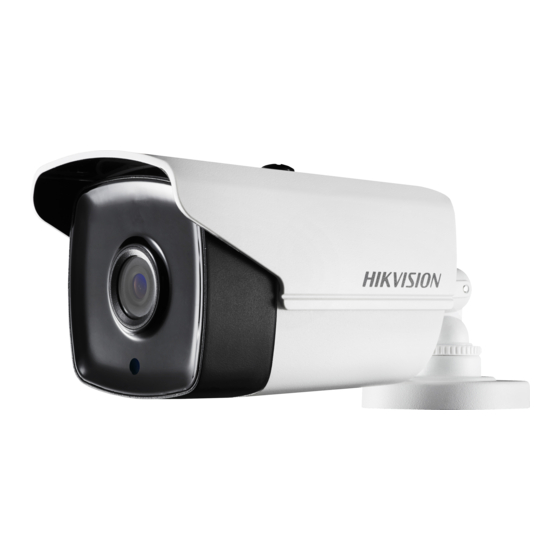
HIKVISION DS-2CE56D8T-IT3E Руководство пользователя - Страница 9
Просмотреть онлайн или скачать pdf Руководство пользователя для DVR HIKVISION DS-2CE56D8T-IT3E. HIKVISION DS-2CE56D8T-IT3E 17 страниц. Bullet & turret camera
Также для HIKVISION DS-2CE56D8T-IT3E: Руководство пользователя (15 страниц), Краткое руководство по эксплуатации (17 страниц)
9. Repeat the step 5 and 6 of 2.1.1 Ceiling/Wall
Mounting to finish the installation.
2.2 Installation of Type IV/Type V/Type VI Camera
2.2.1 Ceiling/Wall Mounting
Before you start:
The installation steps of Type IV, Type V, and Type VI
Camera are similar and the following takes Type IV as an
example to describe the steps.
Steps:
1. Paste the drill template (supplied) to the place
where you want to install the camera.
2. Drill the screw holes on the ceiling/wall according to
the drill template.
3. Loosen screws to remove the clip plate, and take out
the main body.
Figure 2-9 Take out the Main Body
4. Install the camera to the ceiling with supplied
screws.
Figure 2-10 Install the Mounting Base to Ceiling
Note:
The supplied screw package contains self-tapping
screws, and expansion bolts.
For cement wall/ceiling, expansion bolts are
required to install the camera. For wooden
wall/ceiling, self-tapping screws are required.
5. Route the cables through the cable hole, or the side
opening.
6. Install the main body to the mounting base and
insert the clip plate.
Figure 2-8 The Drill Template