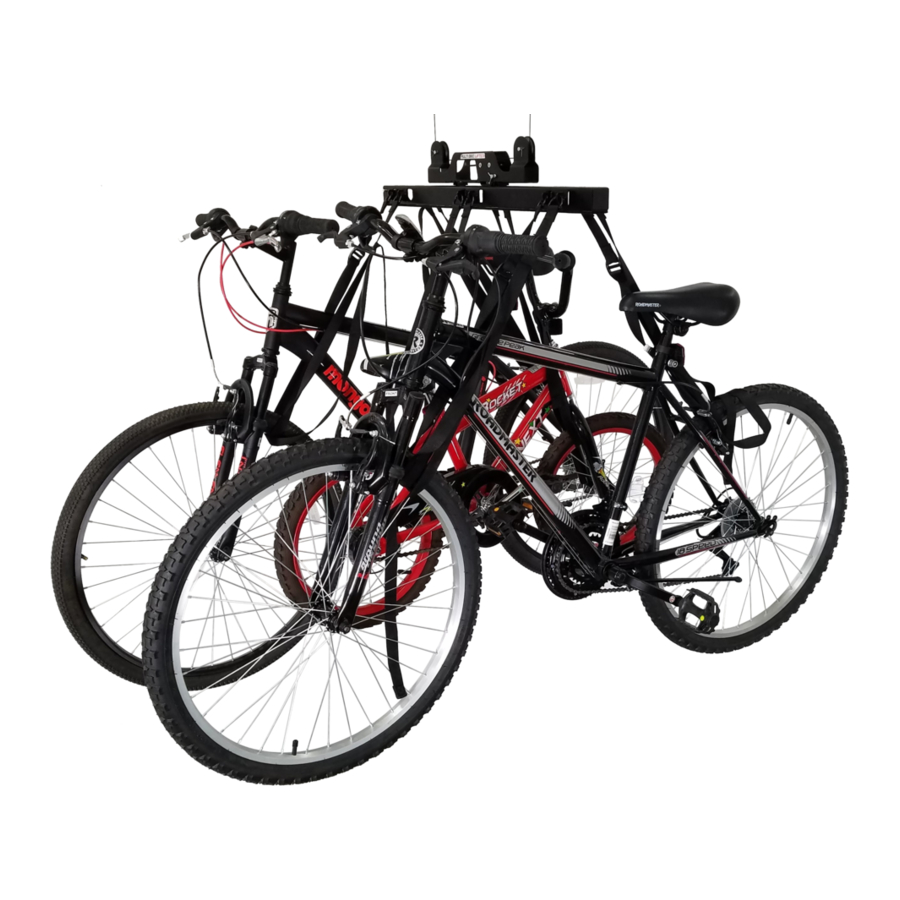
Garage Smart Multi-Bike Lifter Руководство по установке и эксплуатации - Страница 8
Просмотреть онлайн или скачать pdf Руководство по установке и эксплуатации для Подъемные системы Garage Smart Multi-Bike Lifter. Garage Smart Multi-Bike Lifter 16 страниц.

3. Use a pencil to mark the center of the joist.
4. Using the included drill bit, drill a pilot hole at least three inches into the center mark
you made.
5. Hold the Smart Track in place over the pilot hole and screw in one of the included
lag screws and washers. Do not screw it in all the way so you can still move the
other end of the track.
6. Use a stud finder and pencil to find and mark the center of the joist where the other
end of the Smart Track will be attached.
7. Using the Smart Track as a guide, select the hole over the mark you made and drill a
pilot hole at least three inches into the center of the joist.
8. Screw in the other lag screw and washer. Make sure you tighten both lag screws so
the SmartTrack is flush against the ceiling.
If the lag screws are not screwed into the center of the ceiling joist, the bikes
could fall and cause property damage, serious personal injury, or death.
DANGER
8
