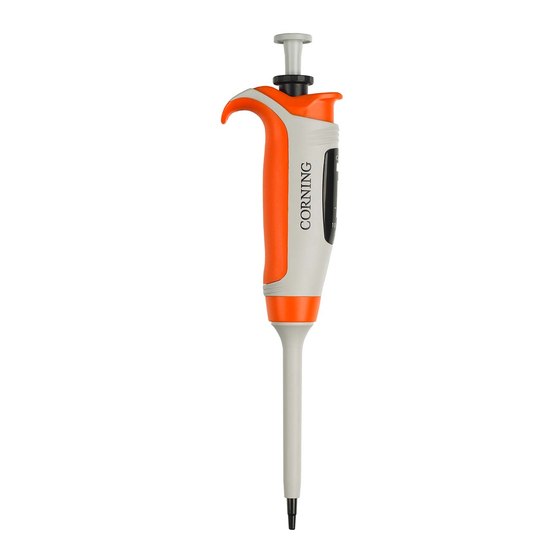
CORNING Lambda EliteTouch Руководство по эксплуатации - Страница 8
Просмотреть онлайн или скачать pdf Руководство по эксплуатации для Лабораторное оборудование CORNING Lambda EliteTouch. CORNING Lambda EliteTouch 17 страниц. Single-channel, 8-channel, and 12-channel pipettors

See ISO 8655 for the full table of the value of the conversion
factor Z.
NOTE: Pipetting should be performed in accordance with
the rules described in Sections 7 and 8.
Checking the Pipetting Accuracy Parameters
• Set the pipettor to the calibration volume.
• Perform 10 aspirations, and calculate their average value
in [mg].
• Calculate the volume in [μL] by multiplying the value
in [mg] by the conversion factor Z [μL/mg].
If the average aspirated volume exceeds the permissible
values of the range given in Section 5, the pipettor should
be recalibrated.
Pipettor Recalibration
Make sure that the pipettor is set to the calibration volume
and the volume adjustment knob is locked.
calibration key
1. Remove the cap from the ejector pushbutton.
2. Set the calibration switch to the upper
position (CAL) using the flat end of the
calibration key.
3. Insert the calibration key with the cross
end vertically into the hole in the ejector
pushbutton, placing it in the counter's
calibration knob.
4. Turn the key so that the volume indicated
by the counter is equal to the volume
calculated.
5. Remove the calibration key.
6. Set the calibration switch in the
operating position.
7. Fit the ejector pushbutton cap.
8. Repeat the pipetting accuracy check (Section 9: Checking
the pipetting accuracy parameter). If the accuracy error
value is exceeded, repeat the calibration process.
12 – Corning Lambda EliteTouch Pipettors
10. Pipettor Maintenance
Depending on the applications and the intensity of use,
the pipettor requires periodic maintenance.
The components most exposed to vapors of aggressive
solutions, such as shaft elements, should be regularly
checked and cleaned.
To properly carry out the maintenance, familiarize yourself
with the design of the shaft holder set shown in Figures
10A, 10B, 10C, and follow the instructions given in this
Section.
cause damage to the device and affect the user's safety.
Cleaning
External surfaces of the pipetting pushbutton, the ejector
pushbutton, the handgrip, the shaft nut, and the adjustment
knob may be cleaned using a cloth dampened in isopropyl
alcohol. The remaining parts removed from the pipettor
during pipettor disassembly may be washed with distilled
water or isopropyl alcohol.
NOTE: Before using cleaning agents other than those
recommended by the manufacturer, check the compatibility
charts and consider chemical resistance of the following
plastics: PP, PC, POM, PA, PPS, PVDF used to produce the
pipettor parts.
Dismantling shaft elements of the single-channel pipettor:
• Holding the pipettor handle, slightly unscrew the shaft
holder set and pull the Ejector (H) out of it;
• Still holding the handle, unscrew the remaining part
of the shaft holder set from it.
"Calibration"
Then proceed according to the pipettor models shown
position
below:
"Operating"
position
Do not use sharp tools for pipettor maintenance. It may
INSTRUCTION MANUAL – 13
