CORNING Centrix Руководство по эксплуатации - Страница 5
Просмотреть онлайн или скачать pdf Руководство по эксплуатации для Сетевое оборудование CORNING Centrix. CORNING Centrix 8 страниц. System splitter/cwdm cassette installation
Также для CORNING Centrix: Прокладка перемычек (20 страниц), Краткое руководство по эксплуатации (2 страниц)
5.2
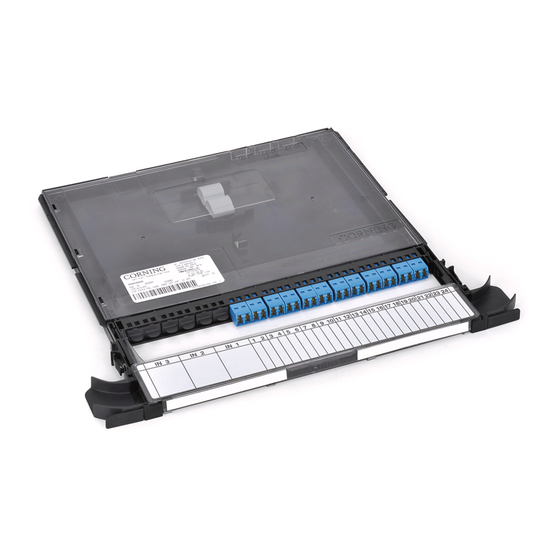
Front-Access Cassettes with Right-Hand Input Jumper Feed
Front-access cassettes with right-hand input jumper feed can only be installed into 19-in racks and 23-in frames,
not into a Centrix frame. Install the jumpers into the front-access cassettes, following the numbering scheme
on the drop handle label (Figure 10).
TPA-5482
Step 1:
In a 19-in rack or 23-in frame installation only, distribution jumpers may be routed out either side of
the cassette to their destination. If routing jumpers to the right, install the right-hand waterfall kit
(CTX-KIT-RT-DH) to support the jumpers (Figure 11).
TPA-5486
Step 2:
Open the cover of the cassette.
Step 3:
Remove the appropriate number of plugs from
the input area.
Step 4: Feed one end of each input jumper through the
opening in the front of the cassette (Figure 13). In
a 24-port cassette, install eight jumpers per input.
In a 12-port cassette, install six jumpers per input.
Step 5:
Remove dust caps from the rear of the adapters
and from the connectors. Clean the connector
end faces and adapters per standard company
practices or as described in Section 7.
*Right-hand waterfall may be installed for
use in routing distribution jumpers out the
right side of the cassette.
TPA-5483
Standard Recommended Procedure 003-1017-AEN | Issue 2 | April 2017 | Page 5 of 8
Figure 10
Figure 11
Figure 12