ALIBI ALI-NS4036RE Руководство по быстрой установке - Страница 6
Просмотреть онлайн или скачать pdf Руководство по быстрой установке для Камера безопасности ALIBI ALI-NS4036RE. ALIBI ALI-NS4036RE 6 страниц. 6mp 270 ft ip bullet camera
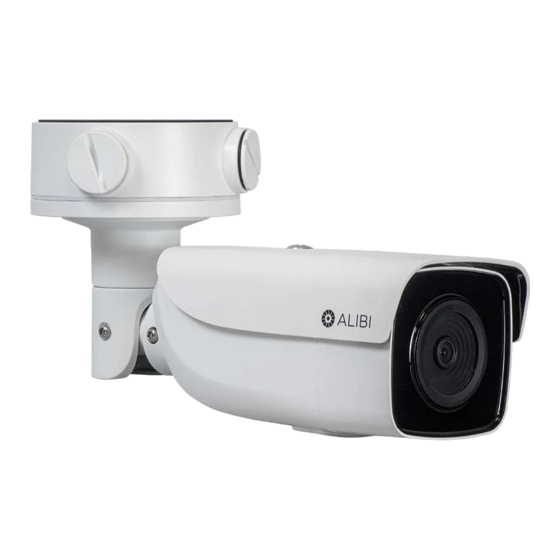
Camera
ALI-NS4036RE
General
Operating conditions:
-22 °F ~ 140 °F (-30 °C ~ 60 °C), Humidity 95% or less (non-condensing)
12 Vdc ± 25%, 5.5 mm coaxial power plug
Power supply
PoE (802.3af, class 3)
12 Vdc, 1.0 A, max: 11 W
Power consumption:
PoE: (802.3af, 36 Vdc ~ 57 Vdc), 0.4 A ~ 0.1 A, max: 12.9 W
Weather proof:
IP67
IR Range, wavelength:
Up to 270 ft (approx. 80 m), 850 nm
Material:
Front cover: metal, back cover: metal
Camera: Φ Φ4.1" × 11.4" (Φ105 × 289.5 mm)
Dimensions:
Package: 15.2" × 6.14" × 6.1" (386 × 156 × 155 mm)
Camera: 2.2 lb (1000 g)
Weight:
With package: 3.3 lb (1500 g)
Using the Waterproof Ethernet Fitting
Install the Waterproof Ethernet Fitting on the Ethernet cable end at the camera when moisture
or contamination exists in the area near the camera. The fitting includes several parts that must be
installed in a specific order. To install the fitting:
1.
Place the rubber O-ring over the camera drop cable end cap.
Push the O-ring up to the connector cap.
2.
Place the Lock Nut onto the network cable from the router
or switch as shown in the drawing to the right. The inside
threads must be toward the camera end.
3.
Place the rubber basket onto the network cable above the lock
nut as shown.
4.
Place the end cap onto the network cable above the rubber
gasket as shown. The fingered end must be toward the router
or switch.
5.
Install an RJ-45 connector onto the network cable.
6.
Plug the RJ-45 connector with the network cable into the
camera network drop cable.
7.
Fit the end cap on the network cable onto the camera drop
cable end cap. Rotate the network cable end cap to lock it in
place.
8.
Push the rubber gasket fully into the end of the network cable
end cap.
9.
Screw the lock nut onto the network cable end cap until it is
fully seated.
Network drop cable
from camera
Ethernet Fitting installed
Ethernet Fitting assembled and connected
6
www.observint.com
Network drop
cable from
camera
Drop cable
end cap
Rubber
O-ring
seal
RJ-45
connector
End cap
Rubber
gasket
Network cable from
router or switch
Lock nut
Network
cable
from
router or
switch
© 2019 Observint Technologies. All rights reserved.