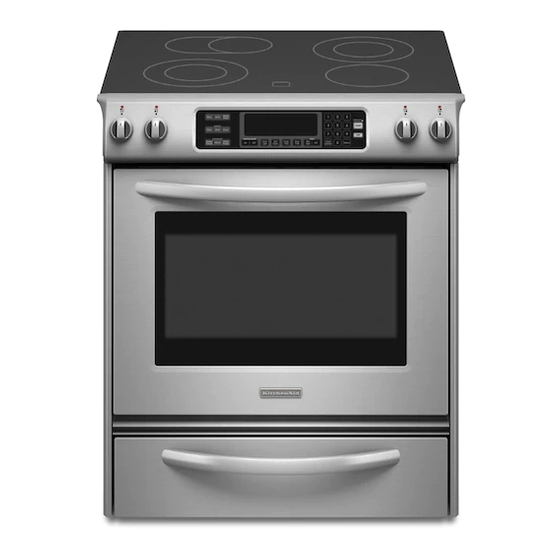
KitchenAid 30" Slide-in Range Руководство по установке - Страница 3
Просмотреть онлайн или скачать pdf Руководство по установке для Диапазоны KitchenAid 30" Slide-in Range. KitchenAid 30" Slide-in Range 13 страниц. 30" (76.2 cm) sealed burner gas range with self-cleaning thermal/convection oven

Parts supplied:
2 plastic
anchors
2 screws
(#10 x 1-1/2")
Bracket must be securely mounted to sub-floor.
Thickness of flooring may require longer screws to
anchor bracket to sub-floor. Longer screws are
available from your local hardware store.
• burner grates and caps
• vent cap
• L.P conversion orifice spud kit:
1 – 0.95 mm cooktop (blue)
2 – 0.67 mm cooktop (black)
1 – 1.05 mm cooktop (green)
1 – #65 broil burner
Electrical requirements
WARNING
Electrical Shock Hazard
Plug into a grounded 3 prong outlet.
Do not remove ground prong.
Do not use an adapter.
Do not use an extension cord.
Failure to follow these instructions can
result in death, fire, or electrical shock.
If codes permit and a separate ground
wire is used, it is recommended that a
qualified electrician determine that the
ground path is adequate and that the
outlet is correctly polarized.
Do not ground to a gas pipe.
Check with a qualified electrician if you
are not sure range is properly grounded.
A 120-volt, 60-Hz, AC-only, 10-ampere,
fused electrical supply is required. A
time-delay fuse or circuit breaker is
recommended. It is recommended that a
separate circuit serving only this
appliance be provided.
Tools needed:
Assemble the required tools and parts
before starting installation. Read and
Not shown:
follow the instructions provided with any
• literature pack
tools listed here.
• orifice spuds
• level
• flat-blade screwdriver
floor-mounted
• Phillips screwdriver
anti-tip bracket
• putty knife
• pipe wrench
• 3/8" drive ratchet
• 3/8" and 5/16" combination wrenches
• hand or electric drill
• channel lock pliers
• measuring tape or ruler
• wood floors: 1/8" drill bit
• concrete/ceramic floors:
3/16" carbide-tipped masonry drill bit
(Hammer may be needed for anchors.)
Electronic ignition systems operate
within wide voltage limits, but proper
grounding and polarity are necessary.
In addition to checking that the outlet is
correctly grounded, the outlet must be
checked by a qualified electrician to see if
it is wired with correct polarity.
IMPORTANT: This range is equipped with
an electronic ignition system that will not
operate if plugged into an outlet that is
not properly polarized.
A wiring diagram is included on the back
of the range.
See "Cabinet dimensions/requirements"
for recommended location of electrical
outlet.
Recommended ground
method
For personal safety, this range is
equipped with a power supply cord
having a 3 prong ground plug. To
minimize possible shock hazard, the cord
must be plugged into a mating 3 prong,
ground-type outlet, grounded in
accordance with the National Electrical
Code, ANSI/NFPA 70 — latest edition*, or
CSA Standard C22.1 Canadian Electrical
Code, Part 1 — latest edition**, and all
local codes and ordinances.
Materials needed:
• gas line shutoff valve
• 1/2" male pipe thread nipple for connection
to pressure regulator
• L.P. gas-resistant pipe-joint compound
• AGA or CSA design-certified flexible metal
appliance connector (4-5 feet) (1.2-1.5 m) or
rigid gas supply line as needed
• Insulated pad or 1/4" (6 mm) plywood if
range is installed over carpeting
If a mating outlet is not available, it is the
personal responsibility and obligation of
the customer to have a properly
polarized and grounded, 3 prong outlet
installed by a qualified electrician.
3 prong properly polarized
ground-type outlet
3 prong
ground plug
ground
prong
power supply
cord
Copies of the standards listed may be obtained
from:
* National Fire Protection Association
One Batterymarch Park
Quincy, Massachusetts, 02269
** CSA International
8501 East Pleasant Valley Rd.
Cleveland, Ohio 44131-5575
3
