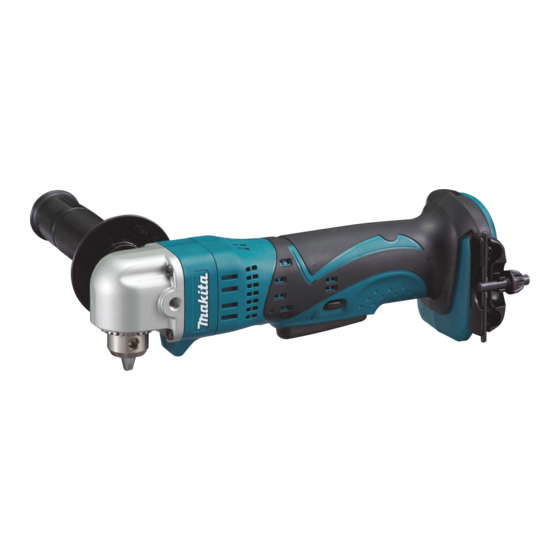
Makita BDA350 Руководство по эксплуатации - Страница 6
Просмотреть онлайн или скачать pdf Руководство по эксплуатации для Электроинструмент Makita BDA350. Makita BDA350 9 страниц. Cordless angle drill
Также для Makita BDA350: Технические характеристики (2 страниц), Руководство по эксплуатации (13 страниц), Руководство по эксплуатации (8 страниц), Техническая информация (7 страниц)

Reversing switch action
1
B
008954
This tool has a reversing switch to change the direction
of rotation. Depress the reversing switch lever from the A
side for clockwise rotation or from the B side for
counterclockwise rotation.
When the reversing switch lever is in the neutral position,
the switch trigger cannot be pulled.
CAUTION:
Always check the direction of rotation before
•
operation.
Use the reversing switch only after the tool comes
•
to a complete stop. Changing the direction of
rotation before the tool stops may damage the tool.
When not operating the tool, always set the
•
reversing switch lever to the neutral position.
ASSEMBLY
CAUTION:
Always be sure that the tool is switched off and the
•
battery cartridge is removed before carrying out
any work on the tool.
Installing side grip (auxiliary handle)
008956
CAUTION:
Always be sure that the side grip is installed
•
securely before operation.
Screw the side grip on the tool securely. The side grip
can be installed on either side of the tool, whichever is
convenient.
1. Reversing
switch
1
A
Installing or removing drill bit
008957
To install the bit, place it in the chuck as far as it will go.
Tighten the chuck by hand. Place the chuck key in each
of the three holes and tighten clockwise. Be sure to
tighten all three chuck holes evenly.
To remove the bit, turn the chuck key counterclockwise
in just one hole, then loosen the chuck by hand.
After use, return the chuck key to the storage cavity on
the tool.
Chuck key holder
1
2
008959
To install the chuck key holder, fix it to the convex portion
of the tool housing on either side and then secure it with
a screw. To remove, loosen the screw and then take it
out.
Hook
1
008958
The hook is convenient for temporarily hanging the tool.
This can be installed on either side of the tool.
To install the hook, insert it into a groove in the tool
housing on either side and then secure it with a screw.
To remove, loosen the screw and then take it out.
6
1. Chuck key
1
1. Chuck key
holder
2. Screw
1. Groove
2. Hook
3. Screw
2
3
