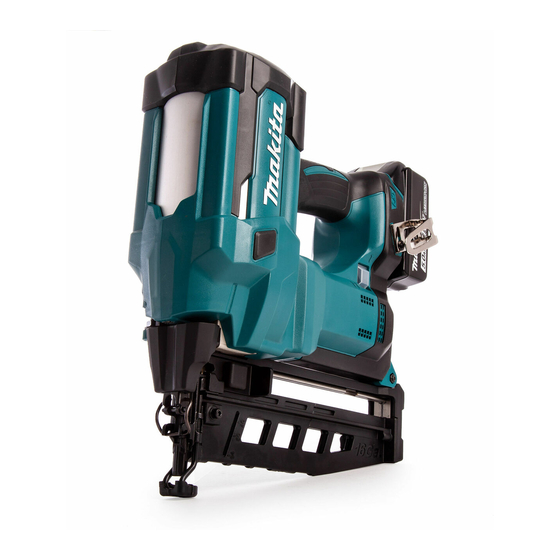
Makita DBN600 Руководство по эксплуатации - Страница 7
Просмотреть онлайн или скачать pdf Руководство по эксплуатации для Электроинструмент Makita DBN600. Makita DBN600 13 страниц. Cordless finish nailer
Также для Makita DBN600: Руководство по эксплуатации (13 страниц)

Indicator lamps
Lighted
Off
NOTE: Depending on the conditions of use and the
ambient temperature, the indication may differ slightly
from the actual capacity.
Trigger-lock button
CAUTION:
When not operating the tool,
depress the trigger-lock button from B side to
lock the switch trigger in the OFF position.
To prevent the switch trigger from accidentally pulled,
the trigger-lock button is provided.
To pull the switch trigger, depress the trigger-lock button
from A side.
After use, always press in the trigger-lock button from
B side.
A
► 1 . Trigger-lock button 2. Switch trigger
Nailing mode selection
The tool employs two nailing actions. Select the desired
nailing by the mode selecting switch.
► 1 . Mode selecting switch 2. Sequential mode
3. Continuous mode
Remaining
capacity
Blinking
The battery
may have
malfunctioned.
B
1
2
1
3
Intermittent nailing (sequential mode)
This mode suits for driving a nail carefully and accurately.
Continuous/ intermittent nailing (continuous mode)
When the tool is set to this mode, you can choose either
continuous or intermittent nailing by sequences of the
trigger operation.
Adjusting the nailing depth
WARNING:
fingers are not placed on the switch trigger or
the contact element and the battery cartridge is
removed before adjusting the depth of nailing.
Turn the adjuster to adjust the nailing depth. The nailing
depth gets deeper as you turn the adjuster to A direc-
tion, shallower to B direction in the figure. The range of
the nailing depth adjustment is 3 mm.
► 1 . Adjuster
NOTICE:
Do not turn the adjuster too much, or
the adjuster may get stuck.
Adjust the nailing depth as necessary.
1
2
► 1 . Too deep 2. Flush 3. Too shallow
Lighting up the lamp
CAUTION:
source of light directly.
Pull the switch trigger or actuate the contact element to
light up the lamp. The lamp keeps on lighting while pull-
ing the switch trigger or actuating the contact element.
The lamp goes out approximately 10 seconds after
releasing the switch trigger and the contact element.
7 ENGLISH
Always make sure that your
A
B
2
Do not look in the light or see the
1
3
