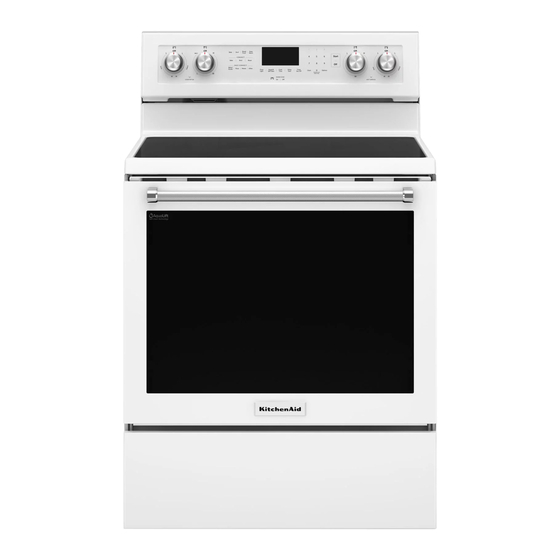
KitchenAid YKFEG500ESS Руководство пользователя - Страница 6
Просмотреть онлайн или скачать pdf Руководство пользователя для Диапазоны KitchenAid YKFEG500ESS. KitchenAid YKFEG500ESS 18 страниц. Freestanding
Также для KitchenAid YKFEG500ESS: Руководство по установке (20 страниц), Краткое руководство по эксплуатации (2 страниц)

■ Nonabrasive scrub sponges or eraser style cleaning pads
(without cleaners) can be effective for cleaning the oven
cavity walls, oven door and oven bottom for difficult soils.
For best results, moisten the pads and sponges before
use.
■ Run an additional Clean cycle for stubborn soils.
■ Affresh
®
Kitchen Appliance Cleaner and affresh
Cleaner may be used to clean the oven bottom, walls, and
door when the oven has finished the cycle and returned to
room temperature. If affresh
is recommended to wipe out the cavity with distilled water
as well. Refer to the Quick Start Guide for ordering
information.
■ Additional AquaLift
®
obtained by ordering Part Number W10423113RP. Refer to
the Quick Start Guide for ordering information.
■ For assistance with AquaLift
0808 in the U.S.A. or 1-800-807-6777 in Canada, or visit
our website at http://whirlpoolcorp.com/aqualift.
INSTALLATION INSTRUCTIONS
REQUIREMENTS
Tools and Parts
Gather the required tools and parts before starting installation.
Read and follow the instructions provided with any tools listed
here.
Tools needed
■ Tape measure
■ Flat-blade screwdriver
■ Phillips screwdriver
■ Level
■ Hammer
■ Hand or electric drill
■ Wrench or pliers
■ Marker or pencil
■ Flashlight
Parts supplied
Check that all parts are included.
■ 3 - 10-32 hex nuts (attached to terminal block)
■ 3 - Terminal lugs
A. Anti-tip bracket
B. #12 x 1
5
⁄
" (41 mm) screws (2)
8
■ Anti-tip bracket must be securely mounted to floor or wall.
Thickness of flooring may require longer screws to anchor
bracket to floor.
6
®
Cooktop Cleaner is used, it
Technology Cleaning Kits may be
®
Technology, call 1-877-258-
■ Masking tape
■ 1/4" (6.4 mm) drive ratchet
■ 1/4" (6.4 mm) nut driver
■ 3/8" (9.5 mm) and 5/16" (8
mm) nut driver
■ 1/8" (3.2 mm) drill bit (for
wood floors)
■ Tin snips or large wire
cutters (for cutting ground
strap if necessary)
Parts needed
If using a power supply cord kit:
■ A UL listed power supply cord kit marked for use with ranges.
The cord should be rated at 250 V minimum, 40 A or 50 A that
is marked for use with nominal 1
connection opening and must end in ring terminals or open-
end spade terminals with upturned ends.
®
Cooktop
■ A UL listed strain relief.
Check local codes. Check existing electrical supply. See the
appropriate "Electrical Requirements" section.
It is recommended that all electrical connections be made by a
licensed, qualified electrical installer.
NOTE: Be sure to purchase only Whirlpool factory-certified parts
and accessories for your appliance. Your installation may require
additional parts. To order, refer to the contact information
referenced in your Quick Start Guide.
Location Requirements
IMPORTANT: Observe all governing codes and ordinances.
■ It is the installer's responsibility to comply with installation
clearances specified on the model/serial/rating plate. The
model/serial/rating plate is located on the frame behind a top
corner of the door or either side of the drawer.
■ The range should be located for convenient use in the kitchen.
■ Recessed installations must provide complete enclosure of the
sides and rear of the range.
■ All openings in the wall or floor where range is to be installed
must be sealed.
■ Cabinet opening dimensions that are shown must be used.
Given dimensions are minimum clearances.
■ The anti-tip bracket must be installed. To install the anti-tip
bracket shipped with the range, see the "Install Anti-Tip
Bracket" section.
■ Grounded electrical supply is required. See the appropriate
"Electrical Requirements" section.
■ Contact a qualified floor covering installer to check that the
floor covering can withstand at least 200°F (93°C).
■ Use an insulated pad or 1/4" (0.64 cm) plywood under range if
installing range over carpeting.
IMPORTANT: To avoid damage to your cabinets, check with your
builder or cabinet supplier to make sure that the materials used
will not discolor, delaminate or sustain other damage. This oven
has been designed in accordance with the requirements of UL
and CSA International and complies with the maximum allowable
wood cabinet temperatures of 194°F (90°C).
Mobile Home - Additional Installation Requirements
The installation of this range must conform to the Manufactured
Home Construction and Safety Standard, Title 24 CFR, Part 3280
(formerly the Federal Standard for Mobile Home Construction and
Safety, Title 24, HUD Part 280). When such standard is not
applicable, use the Standard for Manufactured Home Installations,
ANSI A225.1/NFPA 501A or with local codes.
In Canada, the installation of this range must conform with the
current standards CAN/CSA-Z240.1-latest edition, or with local
codes.
Mobile home installations require:
■ When this range is installed in a mobile home, it must be
secured according to the instructions in this document.
■ Four-wire power supply cord or cable must be used in a mobile
home installation. The appliance wiring will need to be revised.
See "Electrical Connection - U.S.A. Only" section.
3
⁄
" (3.5 cm) diameter
8
