Jandy Versa-Plumb CL580 Руководство по установке и эксплуатации - Страница 8
Просмотреть онлайн или скачать pdf Руководство по установке и эксплуатации для Фильтр для плавательного бассейна Jandy Versa-Plumb CL580. Jandy Versa-Plumb CL580 14 страниц. Cartridge pool filters
Также для Jandy Versa-Plumb CL580: Руководство по установке и эксплуатации (20 страниц), Руководство по установке и эксплуатации (20 страниц), Руководство по установке и эксплуатации (20 страниц)
4.1 New Pool and Seasonal Start-Up
NEVER start pump while standing within five (5)
feet of the filter. Starting the pump while there is
pressurized air in the system can cause the filter
lid to be blown off, which can cause death,
serious personal injury or property damage.
NEVER operate the filter system at more than
50 psi of pressure. Operating the filter system in
excess of 50 psi can cause the filter lid to be
blown off, which can cause death, serious
personal injury or property damage.
DO NOT operate filter at water temperatures
above 120° F (65.5° C). Water temperatures
above the manufacturer's recommendations will
shorten the life span of the filter and void the
warranty.
1. Turn off the pump. Switch off the circuit breaker to
the pump motor.
2. Check that the drain plug is in place and tight.
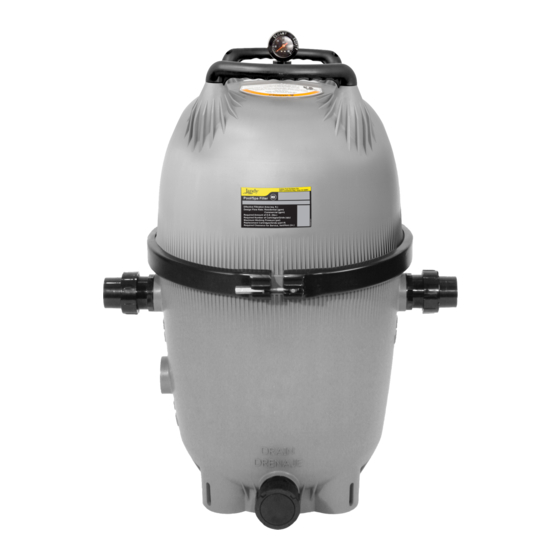
3. Check that the tank clamp is correctly seated and
tight (See Figs. 5 & 6).
4. Open the pump hair/lint pot lid and fill the pump
basket with water to prime the system. Replace the lid.
(You may have to do this several times on new and
seasonal start-ups.)
5. Completely open the air release valve on the
gauge/air release assembly by turning the knob on the
back of the assembly fully counterclockwise (do not
remove the knob).
6. Be sure to open any filter isolation valves that were
installed in the system.
7. Stand clear of the filter and start the pump to
circulate water through the system. When a steady
stream of water starts to come out of the air release
valve, close the valve.
7
SECTION 4. Start-Up and Operation
WARNING
WARNING
CAUTION
8. Watch the pressure gauge to be sure that the
pressure does not exceed 50 psi (with clean cartridges).
If the pressure approaches 50 psi, immediately turn the
pump off and clean the filter cartridges (see Section
6.3). If the pressure remains high after cleaning the
filter, refer to the troubleshooting guide on page 11 for
possible causes and solutions.
9. After the pressure gauge has stabilized, turn the
bezel ring so that the arrow next to the word "clean"
aligns with the needle of the gauge. As the filter cleans
the water, and the cartridges begin to clog the pressure
begins to increase. When the needle of the pressure
gauge aligns with the arrow next to the word "dirty"
on the bezel, it is time to clean the filter (see Section
6.3). This indicates an increased pressure of between 10
and 12 psi above original starting pressure.
WARNING
Never attempt to assemble, disassemble or
adjust the filter when there is pressurized air in
the system. Starting the pump while there is any
pressurized air in the system can cause the filter
lid to be blown off, which can cause death,
serious personal injury or property damage.
SECTION 5.
Disassembly/Assembly
5.1
Filter Disassembly/Assembly
1. Turn off the pump. Switch off the circuit breaker to
the pump motor.
2. IMPORTANT: Completely open air release valve on
top of the filter tank to release all pressure from inside
the tank and system.
3. Close the filter isolation valves on the system to
prevent flooding.
4. Remove the drain plug located at the bottom of the
filter tank and allow the tank to drain.
5. Replace the drain plug.
6. Loosen the tank clamp ring retainer and remove the
clamp ring.
7. Remove the top of the filter tank by lifting it straight
up until it clears the cartridges on the inside of the tank.
8. Remove the manifold assembly by lifting it off of the
the outlet tube and out of the tank.
9. Pull the cartridges out of the filter tank and clean the
cartridge using the instructions in Section 6.3.