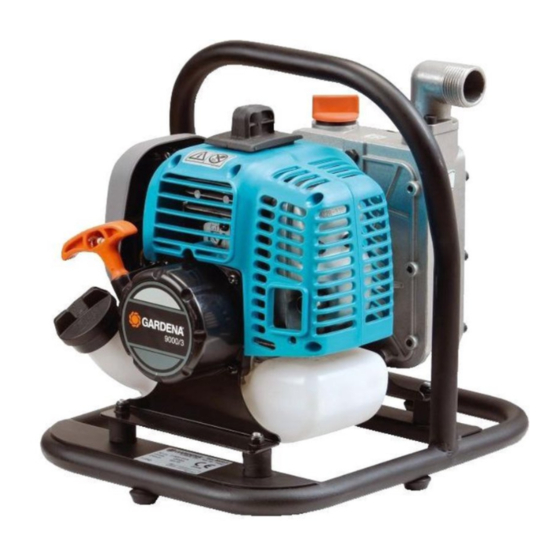
Gardena 1436 Руководство по эксплуатации - Страница 3
Просмотреть онлайн или скачать pdf Руководство по эксплуатации для Водяной насос Gardena 1436. Gardena 1436 10 страниц. Petrol-driven motor pump
Также для Gardena 1436: Руководство по эксплуатации (17 страниц), Руководство по эксплуатации (11 страниц), Руководство по эксплуатации (11 страниц)

1
2
4
3
1. Screw extraction filter
2. Push the extraction tube provided
connection
3. Push universal adapter
nut
7
and screw onto the extraction-side connection
4. Push hose clip
hose
3
7
the hose clip
8
3
4
Connect the delivery hose:
The delivery connection of the pump is fitted with a 33.3mm (G1)
thread to which you can connect 13mm (1/2"), 16mm (5/8") or
19mm (3/4") hoses using the GARDENA hose connection system
fittings.
7
1. Push universal adapter
nut
7
and screw onto the pressure-side connection
9
0
2. Push hose clip
hose
0
4
the hose clip
For the best delivery capacity, connect 19mm (3/4") hoses
together with GARDENA "Profi" System Fittings (e.g. Art. 1752)
or 25mm (1") hoses together with GARDENA Brass Connection
Fittings (e.g. Art. 7142).
Connecting several pressure
When connecting several hoses or accessories in parallel
hoses in parallel:
we recommend using the GARDENA Twin-Tap Connector or
Four Channel Water Distributor Art. 8193 / 8194 / 940.
v Screw the Twin-Tap Connector or Four Channel Water
Distributor directly onto the thread of the delivery
connection
4. Operation
Prime pump:
1. Install the pump at a safe distance from the pumping
medium. Install the pump level with the ground when the
motor is switched off.
1
2. Check petrol level (2-stroke mixture 40 : 1)
(see 6. Maintenance).
3. Check the air filter (see 6. Maintenance).
4. Immerse extraction filter
14
1
onto the filter connection
2
3
onto the filter
2
and screw air-tight with the hose clip
4
5
6
with seal
through the threaded
4
3
onto the extraction hose
, push extraction
onto the universal adapter
5
and screw air-tight with
4
.
6 5
7
4
3
5
6
with seal
d through the threaded
4
0
onto the pressure hose
, push pressure
onto the universal adapter
5
s and screw air-tight with
4
.
9
.
1
in the pumping medium.
.
Fill the pump with the liquid
to be pumped:
.
8
.
Start the motor:
9
.
C
F
H
Fill the pump with approx. 1.5 litres of the liquid to be pumped
before operating the pump.
!
q
1. Unscrew the cover
from the filler neck
pumped.
2. Completely fill the pump chamber with pumping fluid via the
filler nozzle
w
(approx. 1.5 l).
B
q
3. Replace the cover
on the filler neck
hand.
v Before starting, always prime the pump and fill the pump
with pumping fluid (see above).
Start cold motor:
D
1. Set ignition switch
e
to „I"
(on).
2. Press starter ball pump
10 x.
3. Set choke lever
t
to Start
position.
4. Set throttle control
z
to
Min position.
5. For optimum suction
capacity, fix pressure hose
for start 1 – 2 m high.
6. Press pump down firmly on
u
bow
and pull the starter
E
handle
i
until slight resist-
ance is felt. Then pull firmly
i
on the starter handle
.
7. Guide starter handle
i
back
slowly by hand so that the
starter is not damaged (do
not allow to spring back).
8. Repeat points 6 and 7
until the motor has briefly
started.
9. Set choke lever
t
to 1/2
position.
10. Repeat points 6 and 7 until
the motor has started.
G
11. After 5 minutes, set
t
the choke lever
to
Run position.
z
12. Set throttle control
to
required pumping rate
between Min and Max.
v If the motor does not start, see 7. Troubleshooting.
Running the motor in:
The motor only reaches its maximum output 5 – 8 hours after
initial start-up. During this time, the motor must not be operated
at full speed. This could damage the motor.
w
for the liquid to be
w
and screw tight by
Start warm motor:
1. Set ignition switch
e
to „I"
(on).
r
2. Set choke lever
t
to
Run position.
3. Set throttle control
z
to
Min position.
4. For optimum suction
capacity, fix pressure hose
for start 1 – 2 m high.
5. Press pump down firmly on
u
bow
and pull the starter
handle
i
until slight resist-
ance is felt. Then pull firmly
i
on the starter handle
.
6. Guide starter handle
i
back
slowly by hand so that the
starter is not damaged (do
not allow to spring back).
7. Repeat points 5 and 6 until
the motor has started.
z
8. Set throttle control
to
required pumping rate
between Min and Max.
15
