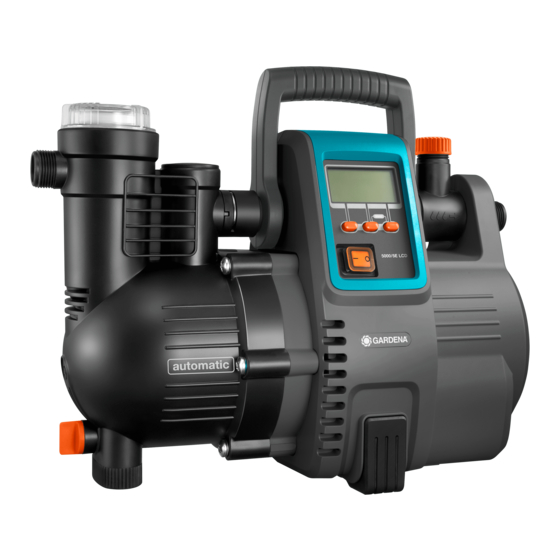
Gardena 1759 Руководство по эксплуатации - Страница 7
Просмотреть онлайн или скачать pdf Руководство по эксплуатации для Водяной насос Gardena 1759. Gardena 1759 11 страниц. Automatic home & garden pump
Также для Gardena 1759: Руководство по эксплуатации (13 страниц)

Problem
Possible Cause
The pump does not pump water for 30 seconds during the
initial operation.
Pump does not suck water
Pump was not sufficiently
filled with liquid to be pumped.
Air cannot escape on the pres
sure side, because the pressure
side outlets are closed.
Pump does not start
The pump housing has heated
up and the thermal circuit brea
ker has been activated.
Pump does not start
The impeller is blocked.
The flow sensor is dirty.
The pump does not pump water for 6 minutes during the
initial operation.
Pump does not suck water
Problem on the suction side.
Suction hose deformed
or bent.
Pump does not start
The thermal circuit breaker
has been activated
(motor overheated).
The pump does not pump water for 30 seconds during the
current operation.
Water supply disrupted
Problem on the suction side.
on the suction side
Suction hose deformed or bent. v Use a new suction hose.
Pump does not start
The thermal circuit breaker
has been activated
(motor overheated).
The flow sensor is dirty.
8
Remedy
Problem
Leakage warning is
activated
v Fill the pump and make sure
that water does not drain out
on the pressure side during
the suctioning process
(see 3. OPERATION).
v Open the pressure side
outlets (see 3. OPERATION).
1. Open possible shutoff device
in the pressure line (release
Pump does not start
pressure).
or stops suddenly during
operation
2. Ensure sufficient ventilation
and let the pump cool down
for 20 min.
1. Loosen the impeller (see
"To loosen the impeller").
2. Let the pump cool down for
20 min.
v Clean the flow sensor (see
"To clean the flow sensor").
To loosen the impeller [ Fig. T1 ]:
If the impeller is stuck due to dirt, ERROR 1 is shown in the display.
1. Turn the motor shaft
This will loosen the blocked impeller.
2. Start the pump (see 3. OPERATION).
To clean the flow sensor [ Fig. T2 ]:
If the flow sensor is stuck due to dirt, an ERROR is shown in the display.
v Immerse the suction hose
end under water.
1. Loosen both screws
v Eliminate any leak on the
2. Remove the cover
suction side.
3. Loosen the screw
v Clean the check valve on
the suction line and check
4. Loosen the cap
the installation direction.
5. Remove and clean the impeller
v Clean the suction filter on the
6. Clean the housing of the flow sensor.
suction hose end.
v Clean the filter lid seal and
7. Assemble the impeller
turn the lid until the stopper
8. First insert the cover
(see 5. MAINTENANCE),
at the bottom.
v Clean the filter in the pump.
9. Start the pump (see 3. OPERATION).
v Use a new suction hose.
v Let the pump cool down
for 20 min.
8. TECHNICAL DATA
Automatic Home & Garden
Pump
Mains voltage
Mains frequency
v Immerse the suction hose
end under water.
Rated Power /
Standby consumption
v Eliminate any leak on the
suction side.
Connection cable
v Clean the check valve on
Max. delivery capacity
the suction line and check
the installation direction.
Max. pressure
v Clean the suction filter on the
Max. delivery head
suction hose end.
v Clean the filter lid seal and
Max. suction height
turn the lid until the stopper
(see 5. MAINTENANCE),
Cut-in pressure
v Clean the filter in the pump.
Permitted internal pressure
(delivery side)
Weight
v Let the pump cool down for
20 min.
Sound power level L
measured/guaranteed
Uncertainty k
v Clean the flow sensor (see
"To clean the flow sensor").
Measuring process complying with:
Possible Cause
The pump switches off during on-going operation after
60 minutes or 2 minutes.
Leak on pressure side
(e. g. dripping tap).
The maximum duration of
the set leakage warning
(low quantity program 60 min.
or 2 min.) has been exceeded.
The check valve is blocked.
The flow sensor is dirty.
Mains plug is disconnected.
Power failure.
RCD has triggered
(residual current).
Electrical interruption.
(16)
with a screw driver.
(17)
.
(18)
.
(19)
and remove the clip
(21)
counterclockwise (e. g. with a screwdriver).
(22)
.
(22)
again in reverse order.
(18)
at the top and then tighten both screws
NOTE: For any other malfunctions please contact the GARDENA service
department. Repairs must only be done by GARDENA service departments
or specialist dealers approved by GARDENA.
Unit
Value (Art. 1759)
V (AC)
230
Hz
50
W
1300 / 1.5
m
1.5 (H07RNF)
l/h
5000
bar
5,0
m
50
m
8
bar
2.0 – 2.8 ± 0.2
bar
6
kg
13.3
:
1)
WA
77 / 79
dB (A)
2.19
1)
WA
RL 2000/14/EC
1)
Remedy
v Eliminate any leak on the
pressure side.
v Increase the duration
of the leakage warning.
v Increase the water
consumption.
v Clean the check valve (see
"To clean the check valve").
v Clean the flow sensor (see
"To clean the flow sensor").
v Connect the mains plug.
v Check the fuse and the cables.
v Disconnect the pump
and contact the GARDENA
Service.
v Disconnect the pump
and contact the GARDENA
Service.
(20)
.
(17)
Value (Art. 1760)
230
50
1300 / 1.5
1.5 (H07RNF)
6000
5,5
55
8
2.0 – 3.2 ± 0.2
6
15.2
73 / 76
2.58
