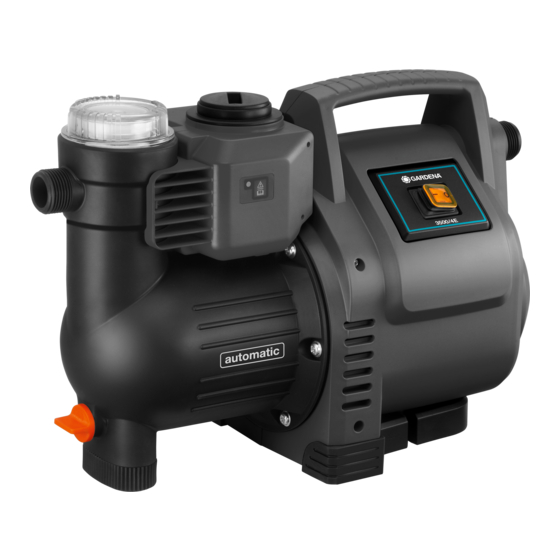
Gardena Classic 3500/4E Руководство по эксплуатации - Страница 11
Просмотреть онлайн или скачать pdf Руководство по эксплуатации для Водяной насос Gardena Classic 3500/4E. Gardena Classic 3500/4E 18 страниц. Electronic pressure pump
Также для Gardena Classic 3500/4E: Руководство по эксплуатации (19 страниц), Руководство по эксплуатации (18 страниц)

Free the impeller:
For Art. no. 1758 only:
Cleaning the flow
sensor:
i
u
p
a
o
For any other malfunctions please contact the GARDENA service department.
Repairs must only be carried out by GARDENA service departments or specialist
dealers authorised by GARDENA.
9. Available accessories
GARDENA Suction Hoses
GARDENA Suction Hose
Fittings
Suction Filter with
Backflow Preventer
GARDENA Pump
Preliminary Filter
GARDENA Bore Hole
Suction Hose
GARDENA Connection Set
GARDENA Connection Set
An impeller blocked by dirt can be freed again.
v Turn motor shaft
z
This will free the blocked impeller.
If the flow sensor is dirty, this may result in wrong error
messages (Info-LED).
1. Unscrew both screws
2. Remove the cover
3. Undo the screw
4. Unscrew the cap
5. Remove the impeller
flow sensor.
6. Re-fit the impeller
direction.
7. Screw the cap
s
8. Secure the cap
9. First insert the cover
two screws
Kink and vacuum-resistant, sold by the metre with 19 mm (3/4"),
25 mm (1") or 32 mm (5/4") diameter without fittings or in fixed
lengths Art. no. 1411 / 1418, complete with fittings, suction filter
and backflow preventer.
For vacuum-resistant connection of the
pump to the suction hose sold by the metre.
To equip suction hoses with Backflow
Preventer sold by the metre.
Recommended for pumping sandy water.
For vacuum-resistant connection of the pump to
boreholes or pipe networks. Length 0.5 m. With
33.3 mm (G1) female thread at both ends.
Connection Set for 1/2" Pressure Hoses
Connection Set for 3/4" Pressure Hoses
using a screw driver.
z
.
u
.
i
and detach the clip
o
anticlockwise (e. g. by using a screwdriver).
a
and clean it. Clean the housing of the
s
with the metal part in the mounting
s
into place clockwise.
a
by way of the clip
a
at the top and then tighten the
i
at the bottom.
u
.
p
using the screw
.
p
o
Art. no.
1723 / 1724
Art. no.
1726 / 1727
Art. no.
1730 / 1731
Art. no. 1729
Art. no. 1750
Art. no. 1752
23
