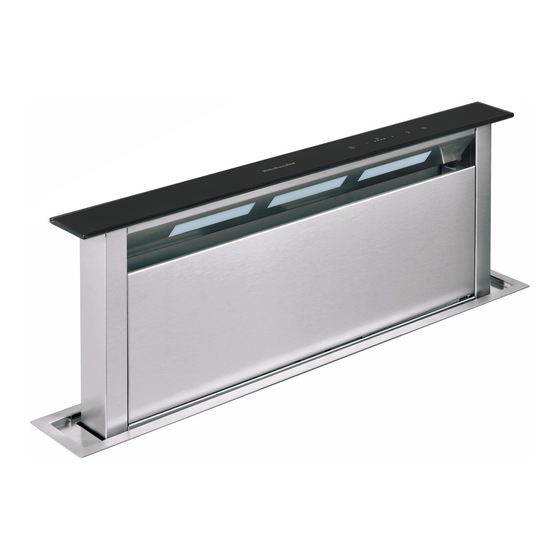
KitchenAid KEBDS 90020 Руководство по эксплуатации - Страница 9
Просмотреть онлайн или скачать pdf Руководство по эксплуатации для Вентиляционная вытяжка KitchenAid KEBDS 90020. KitchenAid KEBDS 90020 16 страниц.

Maintenance
WARNING
• Use protective gloves.
• Disconnect the appliance from the power supply.
IMPORTANT: After carrying out hood or filter cleaning, refit the front panel and filters,
checking correct installation and hooking, otherwise the hood will not switch on.
GREASE FILTER
Its purpose is to retain the particles of grease produced by cooking.
It must be cleaned once a month (or when the filter saturation warning
system indicates this need) with non-aggressive detergents, by hand or in a
dishwasher at low temperature and with short cycle.
Cleaning in a dishwasher may cause discolouring of the metallic grease filter,
but its filtering efficiency is unaffected.
Grease and carbon filters must be fitted and removed while the air intake
panel of the hood is open. To carry out this procedure, press ON (T5).
Remove the front panel by pulling the top part of each side at the same
time. The panel will flip forwards, providing access to the grease filters
(Figure 5)
ACTIVATED CARBON FILTER (Filter Version only)
Its purpose is to retain the unpleasant odours produced by
cooking.
The carbon filter becomes saturated after more or less prolonged use
depending on the type of cooker and how often the grease filter is
cleaned. In any case the carbon filter must be replaced at least every four
months.
The carbon filter CANNOT be washed or regenerated.
The carbon filters can be inserted after removing the grease filters.
(Figure 6)
LIGHTING SYSTEM
WARNING
Disconnect the appliance from the power supply.
IMPORTANT: Do not touch the neon with bare hands after prolonged
hood use with the lights switched on.
To replace the neon, proceed as follows (Figure 7):
1. Lift the extraction panel.
2. Disconnect the power supply (this operation can be carried out by
pulling out the plug, if accessible, or opening the switch, if provided for
during installation, or pressing the red reset button in the control box).
3. Remove the screws fixing the upper front.
4. Lift the upper front
5. Remove the burnt-out neon and replace it with one having the same
characteristics (Model T5 14W 860).
If the lighting does not work, make sure the neon is properly fitted before calling the After-Sales Service.
9
Fig. 5
Fig. 6
Fig. 7
