Gardena 4000/5 Руководство по эксплуатации - Страница 11

Просмотреть онлайн или скачать pdf Руководство по эксплуатации для Газонное и садовое оборудование Gardena 4000/5. Gardena 4000/5 19 страниц. Garden pump
Также для Gardena 4000/5: Руководство по эксплуатации (10 страниц), Руководство по эксплуатации (17 страниц), Руководство по эксплуатации (12 страниц), Руководство по эксплуатации (14 страниц), Руководство по эксплуатации (11 страниц), Руководство по эксплуатации (10 страниц), Руководство по эксплуатации (18 страниц), Руководство по эксплуатации (10 страниц), Руководство по эксплуатации (13 страниц), Руководство по эксплуатации (17 страниц)
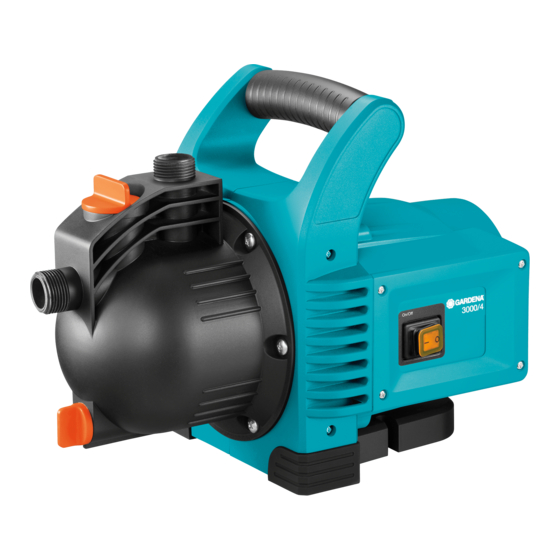
Gardena 4000/5 Руководство по эксплуатации
Cleaning the Integrated Filter
Cleaning the Integrated Back-Flow Valve
24
Always remove the mains plugs before working on the
pump.
Set or leave the switch on RUN.
.
If necessary, close the shut-off device on the inlet side of the
.
pump.
Unscrew the filter lid by turning anti-clockwise.
.
Remove the filter unit by pulling vertically upwards.
.
Hold the container and remove
.
the filter from the bayonet
socket by turning anti-clock-
wise.
Rinse the container under run-
.
ning water and clean the filter
using a soft brush, for example.
Reassemble the container-
.
filter unit in reverse order.
Insert the cleaned filter unit
.
into the pump.
Screw on the filter lid until tight.
.
Always remove the mains plugs
before working on the pump.
Set or leave the switch on RUN.
.
Ensure that the delivery side is de-
.
A
pressurised, for example, by opening
the consumers.
Close any shut-off devices on the inlet and
.
delivery side.
Loosen the screw by turning it anti-clockwise
.
until you can push the holder upwards and
backwards into opening position.
Remove the lid of the integrated back-flow valve by turning
.
anti-clockwise.
Remove the valve body and rinse under clean running water.
.
After cleaning, replace the valve body centrally in the correct
.
position (cone point downwards).
Screw on the lid until tight.
.
Push the holder forwards and position it in its original position.
.
Then tighten the screw again by turning it clockwise.