7. Trouble-Shooting
Replacing spring tines :
E
F
G
H
L K
Problem
Abnormal noise.
Clattering in the unit
Whistling sound
16
Danger ! The aerator cylinder can cause injuries !
A
V Prior to rectifying faults, unplug from the mains
and wait until the aerator cylinder has stopped.
V Wear working gloves when rectifying faults.
If the aerator cylinder is not yet worn but individual springs have
broken, these must be replaced. Only original GARDENA replace-
ment springs may be used.
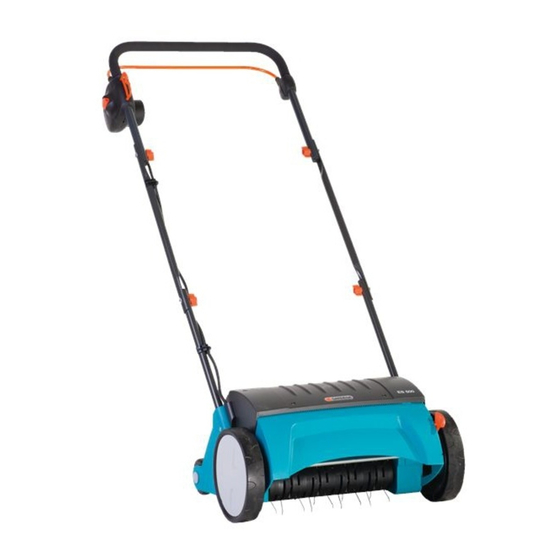
• Replacement spring tines for Electric Aerator
GARDENA ES 500 Art. 4094
1. Unscrew two screws
2. Lift aerator cylinder
shaft 2.
3. Pull bearing shell
4. Unscrew and remove screw
5. Remove cover plate
element holder
6. Push new spring elements
element holder
The bores on the cover plate
L
must lie on top of each other.
I
7. Push in bearing bolt
I
bolt
, cover plate
top of each other.
8. Screw in screw
J
9. Push aerator cylinder
J
10. Put bearing shell
11. Screw bearing shell
the screw
Possible Cause
Foreign bodies on the aerator
cylinder are hitting the Aerator.
Foreign bodies blocking
the aerator cylinder.
E
on the underside of the housing.
F
at an angle 1 and pull away the drive
G
off the aerator cylinder
H
and draw out bearing bolt
J
and spring elements
L
.
K
and cover plate
L
.
J
and the spring element holder
I
in such a way that all 3 bores (bearing
J
and spring element holder
H
.
F
on to the drive shaft.
G
on the aerator cylinder
G
on to the lower side of the housing with
E
without tightening too much.
Remedy
1. Switch off the scarifier,
2. Remove foreign bodies.
3. Check Scarifier
F
.
K
from the spring
J
on the spring
L
) are on
F
.
remove the mains plug from
the socket and wait until the
cylinder has stopped rotating.
immediately.
I
.