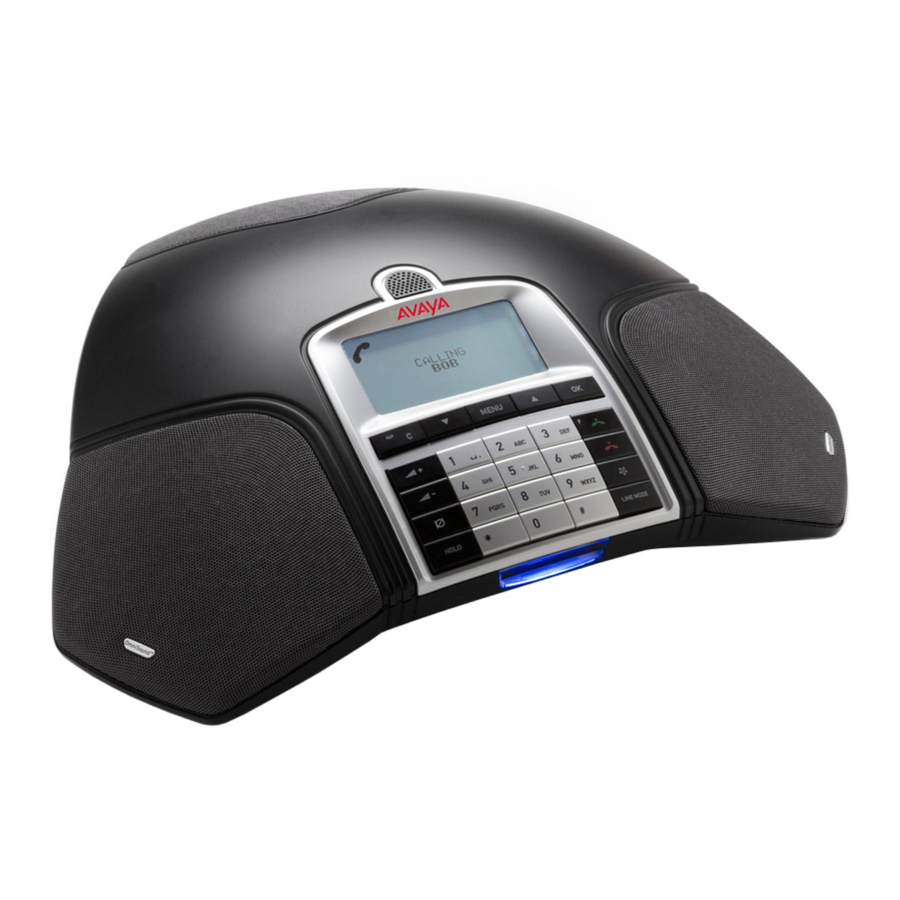
Avaya B179 Руководство по быстрой настройке - Страница 2
Просмотреть онлайн или скачать pdf Руководство по быстрой настройке для Телефон Avaya B179. Avaya B179 4 страницы. Configuring b100 series phones on ip office
Также для Avaya B179: Краткое справочное руководство (4 страниц), Краткое справочное руководство (4 страниц), Руководство по конфигурации (12 страниц), Руководство по конфигурации (2 страниц)

DeSCrIPtIOn AnD InStAllAtIOn
The PA interface box connects the conference phone with an existing PA system. To match
several types of situations and equipment, there are some settings available in the Avaya B159/
B179 menu, see the following pages in this setup guide.
Parts included
• Interface box
• Connection cable, 2.5 metres
Output specification
Connector
RCA
Impedance
600Ω
Output level
200mV RMS
Connecting the PA interface box
Always disconnect the power supply from the electrical outlet before disconnecting or
connecting equipment to the Avaya B159/B179.
Connect the PA interface box to the AUX port on Avaya B159/B179 with the included cable.
Connect the external amplifier to the RCA connector marked with a speaker.
Connect the microphone mixer to the RCA connector marked with a microphone.
Input specification
Connector
Impedance
Input level
2.5 m connection cable
AUX port
the picture shows the bottom of Avaya B179
PA interface box
RCA
5kΩ
300mV RMS
to mixer/microphone
PA interface box
Loudspeakers
Amplifier
Mixer
Microphones
to amplifier/speakers
Optional connection if
the sound from the local
microphones shall be
mixed to the speakers
