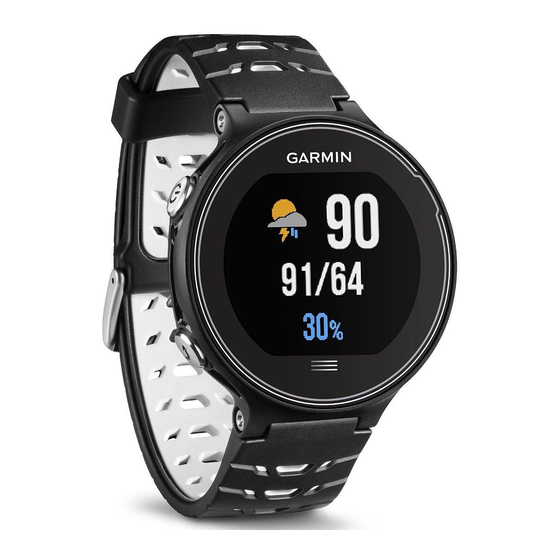
Garmin Forerunner 630 Руководство пользователя - Страница 16
Просмотреть онлайн или скачать pdf Руководство пользователя для Смотреть Garmin Forerunner 630. Garmin Forerunner 630 24 страницы.

4
Select
to return to the timer screen.
5
Select
to start the timer.
6
Go for a run.
The metronome starts automatically.
7
During your run, swipe to view the metronome screen.
8
If necessary, hold the touchscreen to change the metronome
settings.
Using Auto Pause
®
You can use the Auto Pause feature to pause the timer
automatically when you stop moving or when your pace or
speed drops below a specified value. This feature is helpful if
your activity includes stop lights or other places where you need
to slow down or stop.
NOTE: History is not recorded while the timer is stopped or
paused.
1
Select
> Activity Settings > Auto Pause.
2
Select an option:
• Select When Stopped to pause the timer automatically
when you stop moving.
• Select Custom to pause the timer automatically when
your pace or speed drops below a specified value.
Marking Laps by Distance
You can use the Auto Lap feature to mark a lap at a specific
distance automatically. This feature is helpful for comparing your
performance over different parts of a run (for example, every 1
mi. or 5 km).
1
Select
> Activity Settings > Laps > Auto Distance.
2
Select a distance.
Each time you complete a lap, a message appears that displays
the time for that lap. The device also beeps or vibrates if audible
tones are turned on
(Setting the Device Sounds, page
If necessary, you can customize the data screens to display
additional lap data.
Customizing the Lap Alert Message
You can customize one or two data fields that appear in the lap
alert message.
1
Select
> Activity Settings > Laps > Lap Alert.
2
Select a data field to change it.
3
Select Preview (optional).
Using Auto Scroll
You can use the auto scroll feature to cycle through all of the
training data screens automatically while the timer is running.
1
Select
> Activity Settings > Auto Scroll.
2
Select a display speed.
Changing the GPS Setting
By default, the device uses GPS to locate satellites. For
increased performance in challenging environments and faster
GPS position location, you can enable GPS and GLONASS.
Using GPS and GLONASS reduces battery life more than using
only GPS.
Select
> Activity Settings > GPS > GPS + GLONASS.
Using UltraTrac Mode
Before using UltraTrac mode, you should run outdoors a few
times using normal GPS mode to calibrate the device.
You can use UltraTrac mode for extended activities. UltraTrac
mode is a GPS setting that periodically turns off GPS to save
battery power. When GPS is off, the device uses the
accelerometer to calculate speed and distance. Speed,
distance, and track data accuracy are reduced in UltraTrac
12
mode. The accuracy of the data improves after a few outdoor
runs using GPS.
Select
TIP: For extended activities, you should consider other
battery saving options
Power Save Timeout Settings
The timeout settings affect how long your device stays in
training mode, for example, when you are waiting for a race to
start. Select
Normal: Sets the device to enter low-power watch mode after 5
minutes of inactivity.
Extended: Sets the device to enter low-power watch mode after
25 minutes of inactivity. The extended mode can result in
shorter battery life between charges.
Activity Tracking Settings
Select
> Settings > Activity Tracking.
Status: Enables the activity tracking feature.
Move Alert: Displays a message and move bar on the time of
day screen. The device also beeps or vibrates if audible
tones are turned on
System Settings
Select
> Settings > System.
• Language Settings
page
12)
• Time Settings
• Backlight Settings
• Sound Settings
• Unit Settings
• Format Settings
13).
• Data Recording Settings
page
13)
Changing the Device Language
Select
Time Settings
From the time of day screen, select
Watch Face: Allows you to select a watch face design.
Alarms: Allows you to manage multiple time alarms.
Use Profile Color: Sets the accent color for the time of day
screen to be the same as the activity profile color.
Background: Sets the background color to black or white.
Time Format: Sets the device to show time in a 12-hour or a
24-hour format.
Set Automatically: Allows you to set the time manually or
automatically based on your GPS position.
Time Zones
Each time you turn on the device and acquire satellites, the
device automatically detects your time zone and the current time
of day.
Setting the Time Manually
By default, the time is set automatically when the device
acquires satellite signals.
1
Select
2
Select Set Time, and enter the time of day.
Setting the Alarm
1
Select
2
Select Time, and enter a time.
3
Select Sounds, and select an option.
> Activity Settings > GPS > UltraTrac.
(Maximizing Battery Life, page
> Activity Settings > Power Save Timeout.
(Setting the Device Sounds, page
(Changing the Device Language,
(Time Settings, page
12)
(Backlight Settings, page
(Setting the Device Sounds, page
(Changing the Units of Measure, page
(Format Settings, page
(Data Recording Settings,
> Settings > System > Language.
> Clock.
> Clock > Set Automatically > Off.
> Clock > Alarms > Add New > Status > On.
15).
13).
13)
13)
13)
13)
Customizing Your Device
