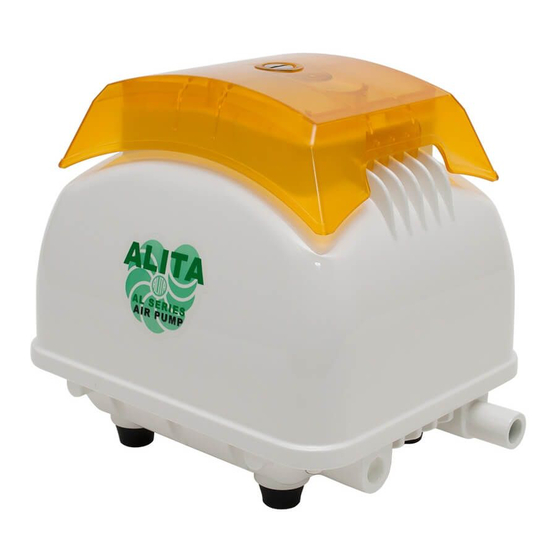
ALITA AL-150 Руководство по эксплуатации и техническому обслуживанию - Страница 6
Просмотреть онлайн или скачать pdf Руководство по эксплуатации и техническому обслуживанию для Воздушный компрессор ALITA AL-150. ALITA AL-150 12 страниц. Linear air compressors

MAINTENANCE INSTRUCTIONS
Periodic pump maintenance is required for reliable continuous operation. Any
maintenance of the pump other than those described herein this manual must
be performed by an authorized service facility.
CAUTION: Always turn off the power and unplug from electrical terminal before
any maintenance. Failure to observe this precaution can result in serious
accident.
AIR FILTER
Air filter pad under the filter cover should be cleaned every 3 to 6 months.
Wash the filter pad gently in mild, soapy water then rinse thoroughly. Allow
filter pad to dry completely before reinstalling.
DIAPHRAGM MODULES
Diaphragm module replacement is typically recommended for every 24 months
of operation. Replacement cycle may differ from application to application, it is
prudent to perform the replacement before any actual diaphragm failure.
Diaphragm Replacement Kit (DRK) can be ordered from Alita Industries or
authorized Alita representative.
Diaphragm Module Replacement
1. Set pump upside down (remove filter cover for stability if required), unscrew
and remove all upper housing screws. Then return pump to upright position
and lift away upper housing. Number of housing screws: AL-30~80 (4x),
AL-100~200 (6x), AL-250~400 (12x)
2. Detach the L-tube from discharge port of each diaphragm housing.
3. Select a diaphragm housing on core frame, remove its 4 corner screws,
then pull housing away. Proceed to remove the hex nut and washer from
center of the diaphragm then pull and slide the entire diaphragm block away
from magnetic rod and core frame.
4. Select a new diaphragm block from the DRK, align shape with core frame
and magnetic rod then slide over the rod screw. Secure assembly firmly with
washer and hex nut. Apply 1 to 2 drops of removable grade threadlocker
between the hex nut and protruded rod screw.
5. Install new diaphragm housing then secure with 4 corner screws.
6. Attach L-tube to the discharge port of the new diaphragm housing then
secure with silicone band or wire hose clamp.
7. Repeat step #3 through #6 on opposite side.
IMPORTANT: Do not mix old and new parts. For reliable operation, always
replace both diaphragm modules in the pump at the same time.
8. Inspect the position of magnetic rod from the top. Magnetic rod should be
centered between the electromagnets. No contact should exist between the
magnetic rod and the two electromagnets.
- 5 -
