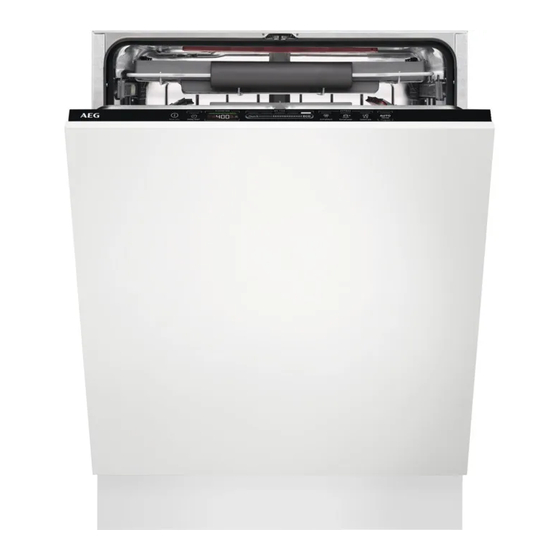
AEG 911434531 Руководство пользователя - Страница 18
Просмотреть онлайн или скачать pdf Руководство пользователя для Посудомоечная машина AEG 911434531. AEG 911434531 28 страниц.

18
www.aeg.com
10. CARE AND CLEANING
WARNING!
Before any maintenance
other than running the
programme Machine Care,
deactivate the appliance and
disconnect the mains plug
from the main socket.
Dirty filters and clogged
spray arms negatively affect
the washing results. Check
these elements regularly
and, if necessary, clean
them.
10.1 Machine Care
Machine Care is a programme designed
to clean the appliance interior with
optimal results. It removes limescale and
grease buildup.
When the appliance senses the need for
cleaning, the indicator
Machine Care programme to clean the
appliance interior.
How to start the Machine Care
programme
Before starting the Machine
Care programme, clean the
filters and spray arms.
1. Use a descaler or a cleaning product
designed specifically for dishwashers.
Follow the instructions on the
packaging. Do not put dishes in the
baskets.
2. Press and hold simultaneously
and
The indicators
display shows the programme duration.
3. Close the appliance door to start the
programme.
When the programme is complete, the
indicator
is on. Start the
for about 3 seconds.
and
flash. The
is off.
10.2 Internal cleaning
• Carefully clean the appliance,
including the rubber gasket of the
door, with a soft damp cloth.
• Do not use abrasive products,
abrasive cleaning pads, sharp tools,
strong chemicals, scourer or solvents.
• To maintain the performance of your
appliance, use a cleaning product
designed specifically for dishwashers
at least once every two months.
Carefully follow the instructions on
the packaging of the product.
• For optimal cleaning results, start the
Machine Care programme.
10.3 External cleaning
• Clean the appliance with a moist soft
cloth.
• Only use neutral detergents.
• Do not use abrasive products,
abrasive cleaning pads or solvents.
10.4 Cleaning the filters
The filter system is made of 3 parts.
C
B
A
1. Turn the filter (B) counterclockwise
and remove it.
