Brother DCP-8110DN Руководство - Страница 24

Просмотреть онлайн или скачать pdf Руководство для Принтер "все в одном Brother DCP-8110DN. Brother DCP-8110DN 36 страниц. Printer
Также для Brother DCP-8110DN: Расширенное руководство пользователя (50 страниц), Руководство по работе с сетью (29 страниц), Руководство (27 страниц), Руководство по быстрой настройке (23 страниц), Руководство пользователя (23 страниц), Руководство по безопасности продукции (23 страниц), Расширенное руководство пользователя (39 страниц), Руководство по безопасности продукции (22 страниц)
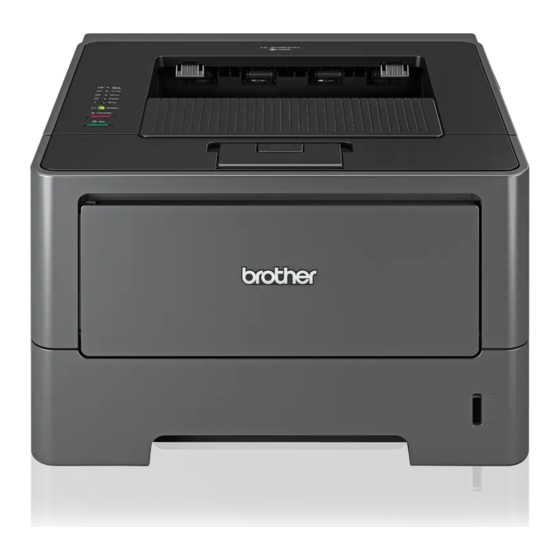
Brother DCP-8110DN Руководство
Managing your network machine securely
3
using SSL/TLS
To manage your network machine securely, you need to use the management utilities with security protocols.
Secure Management using Web Based Management (web
browser)
We recommend to use HTTPS protocol for secure management. To use these protocols, the following
machine settings are required.
Note
• The HTTPS protocol is enabled by default.
You can change the HTTPS protocol settings and the certificate to use on the Web Based Management
screen, by clicking Network, Protocol and then HTTP Server Settings.
• You must also install the certificate you have installed to the machine onto your computer. See Installing
the self-signed certificate or pre-installed certificate onto Windows Vista
®
Server
2008 for users with administrator rights uu page 12 or Installing the self-signed certificate or
pre-installed certificate for Windows
a
Start your web browser.
b
Type "https://machine's IP address/" into your browser. (If you use the created certificate, type
"https://Common Name/" into your browser. Where "Common Name" is the Common Name that you
assigned for the certificate, such as an IP address, node name or domain name. For how to assign a
Common Name for the certificate, see Using Certificates for device security uu page 2.)
For example:
https://192.168.1.2/ (if the Common Name is the machine's IP address)
c
No password is required by default. Enter a password if you have set one and press
®
XP and Windows Server
®
®
, Windows
7 and Windows
®
2003 users uu page 14.
3
3
3
.
20