Brother Business Smart MFC-J4510dw Руководство - Страница 31

Просмотреть онлайн или скачать pdf Руководство для Принтер Brother Business Smart MFC-J4510dw. Brother Business Smart MFC-J4510dw 36 страниц. Quick setup guide - spanish
Также для Brother Business Smart MFC-J4510dw: Руководство (22 страниц), Руководство по безопасности продукции (17 страниц), Руководство (13 страниц), Руководство (22 страниц), Руководство по быстрой настройке (47 страниц), Руководство (18 страниц), Руководство по быстрой настройке (47 страниц), Брошюра и технические характеристики (4 страниц), Руководство по безопасности продукции (20 страниц), Технические характеристики (2 страниц), Руководство по быстрой настройке (47 страниц), Краткое руководство по эксплуатации (29 страниц), Руководство по безопасности продукции (25 страниц), (Испанский) Guia De Web Connect Manual (38 страниц), (Испанский) Руководство (24 страниц), Руководство по безопасности продукции (на английском языке) (16 страниц), (Испанский) Руководство (11 страниц), (Английский) Руководство по быстрой настройке (47 страниц)
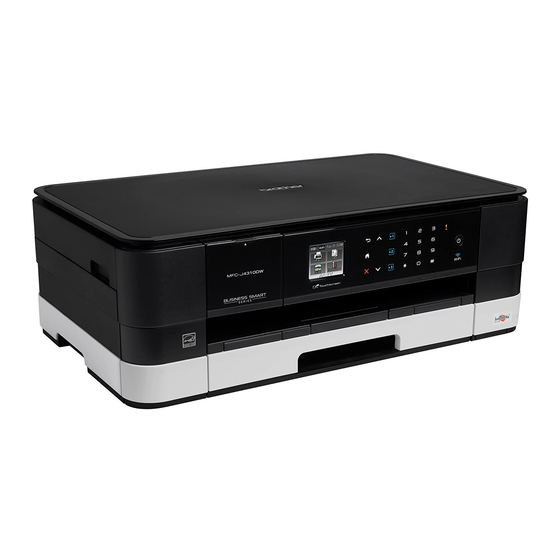
Brother Business Smart MFC-J4510dw Руководство
Shortcut Settings
4
(For MFC-J2510/J4510DW)

Adding Web Connect Shortcuts

The settings for the following services can be included in a Web Connect Shortcut:
PICASA Web Albums™
GOOGLE DOCS™
®
FLICKR
Facebook™
®
EVERNOTE
Dropbox
a
If the displayed screen is either Home or More, swipe left or right, or press d or c to display a Shortcut
screen.
b
Press
where you haven't added a Shortcut.
c
Press Web.
d
If Information regarding the Internet connection is displayed, read the information and confirm it by
pressing OK.
e
Swipe left or right, or press d or c to display the available services, and then press the desired service.
f
Press your account.
If the account needs a PIN, enter the PIN for the account using the keyboard on the Touchscreen.
Press OK.
g
Select the function you want to use.
NOTE
The functions that can be set vary depending on the chosen service.
h
Read and confirm the displayed list of functions you have chosen, and then press OK.
i
Press OK to save your Shortcut.
NOTE
The Shortcut name will be assigned automatically. To change the Shortcut names, see How to edit
Shortcut Names on page 29.
4
4
4
28