Brother GT-3 Series Руководство по техническому обслуживанию - Страница 9

Просмотреть онлайн или скачать pdf Руководство по техническому обслуживанию для Принтер Brother GT-3 Series. Brother GT-3 Series 17 страниц. Cookbook maintenance
Также для Brother GT-3 Series: Руководство по техническому обслуживанию (16 страниц), Руководство по эксплуатации (15 страниц), Руководство по эксплуатации (12 страниц), Руководство по эксплуатации (18 страниц), Справочное руководство (8 страниц), Справочное руководство (8 страниц), Руководство (3 страниц), Установите (4 страниц)
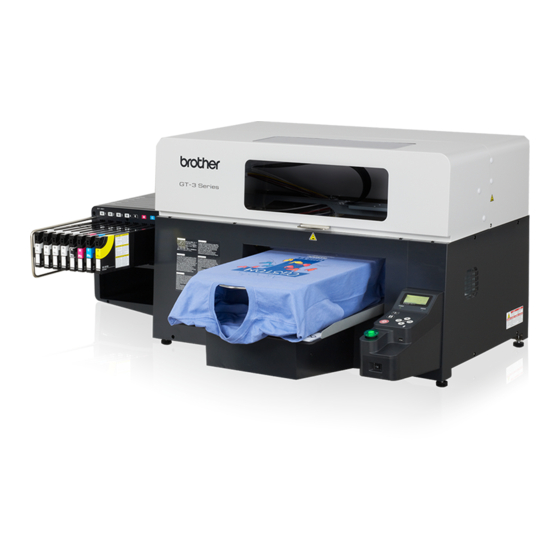
Brother GT-3 Series Руководство по техническому обслуживанию
> FLUSHING TRAY FELT & SPONGE REPLACEMENT:
REPLACE
those 2
SPONGE
&
+
SPARE PARTS NUMBER:
> CARRIAGE FELTS REPLACEMENT:
+
SPARE PARTS NUMBER:
+
SPARE PARTS NUMBER:
Insert the felt into the flushing plate.
Place the sponge on top of the felt.
FELT
Install back the assembled flushing plate into the machine.
Check that the flushing plate is well inserted and sittting in
an horizontal position to avoid touching the PH's in move-
ment !
SB 3004001
The Carriage contains 2 brackets on the front edge that
hold 4 felt pads onto Velcro inserts.
The carriage assembly has 2 wheels that ride along the front
rail.
The pads keep the rail clean to help allow the carriage move
unrestricted and smooth.
Be carefull not to bend the 2 brackets, it may end up with errors
(i.e. 6107. 6108) and also, do NOT put oil on the felts !
SB 2652101
When needed, you can replace the cap felt sitting in between
the two sets of four caps.
Just lift it and place a new one instead.
SB 3006001
+
SPARE PARTS NUMBER:
CAP FELT REPLACEMENT
SB 3005001
8