Brother QL-580N Руководство пользователя - Страница 14

Просмотреть онлайн или скачать pdf Руководство пользователя для Изготовитель этикеток Brother QL-580N. Brother QL-580N 26 страниц. Label printer
Также для Brother QL-580N: Руководство пользователя сети (42 страниц), Руководство пользователя программного обеспечения (40 страниц), Руководство пользователя сети (48 страниц), Руководство пользователя программного обеспечения (48 страниц), Руководство пользователя (40 страниц), Руководство по настройке и эксплуатации (43 страниц), Руководство пользователя (41 страниц), Руководство по настройке и эксплуатации (43 страниц)
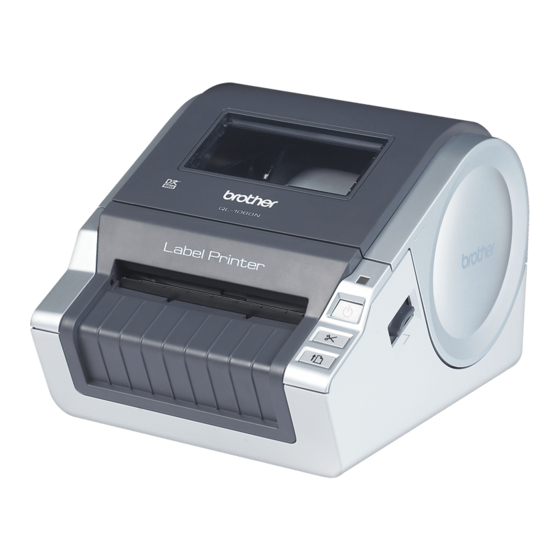
Brother QL-580N Руководство пользователя
12
STEP1 Getting Started

6 Using Interface Cable (QL-580N only)

RS-232C cable and Network cable are not standard accessories.
Choose the appropriate cable for your interface.
USB cable
Use the enclosed interface cable.
RS-232C cable
The pin assignments for the serial cables (RS-232C cables) which can be used with this
machine are shown in the table below. You can purchase the cables at an electronics
store. Do not use an interface cable that is longer than 2 metres.
Brother QL side
D-sub female, lock screw #4-40 (UNC).
Signal
Name
DCD
RXD
TXD
DTR
GND
DSR
RTS
CTS
RI
It is not possible to connect a RS-232C cable and USB cable to the printer at the
same time.
Network cable
Use a straight-through Category5 (or greater) twisted-pair cable for 10BASE-T or
100BASE-TX Fast Ethernet Network.
Important
For USB interface, the included USB interface cable should be used to ensure
compliance with the limits for EMC (Electromagnetic compatibility).
For serial and network interfaces, a shielded interface cable should be used to ensure
compliance with the limits for EMC.
Changes or modifications not expressly approved by Brother Industries, Ltd. may affect the
performance and print quality, and damage may not be covered under the limited warranty.
Caution for LAN connections
Connect this product to a LAN connection that is not subjected to overvoltages.
Caution for RS-232C connection
The RS-232C serial connector part of this equipment is not Limited Power Source.
Pin
Number
1
2
3
4
5
6
7
8
9
Pin Assignments
PC side
(D-Sub9P female)
Pin
Signal
Number
Name
1
DCD
2
RXD
3
TXD
4
DTR
5
GND
6
DSR
7
RTS
8
CTS
9
RI