Fujitsu fi-5650C Руководство по началу работы - Страница 27

Просмотреть онлайн или скачать pdf Руководство по началу работы для Сканер Fujitsu fi-5650C. Fujitsu fi-5650C 40 страниц. Image scanner
Также для Fujitsu fi-5650C: Руководство по процедурам установки (7 страниц), Руководство по процедурам установки (9 страниц), Процедуры установки (3 страниц), Технические характеристики (2 страниц), Брошюра и технические характеристики (2 страниц), Руководство по эксплуатации (11 страниц), Инструкции по замене и очистке расходных материалов (19 страниц), Инструкции по очистке (2 страниц), Уборка и обслуживание (39 страниц)
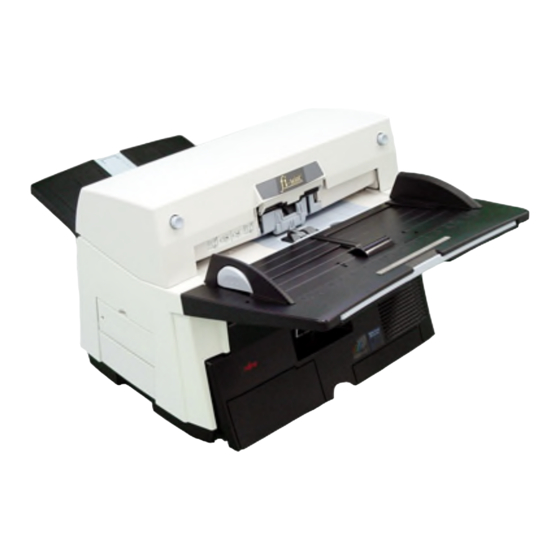
Fujitsu fi-5650C Руководство по началу работы
3.
Click the [QuickScan PRO (trial)]
button in the following screen.
4.
Install the application following the
instructions on the window.
5.
Input the requested information and
click on the [Next] button.
QuickScan Pro, attached to the Setup
CD-ROM is a trial version. Therefore,
ATTENTION
there is a limitation of 30 program starts.
Purchasing this software is necessary if
you intent to use this software unlimited.
(when installing and using the trial
version, please use the displayed serial
number. For the operations of
QuickScan, please refer to the
"Overview of QuickScan" or the
"QuickScan Help". Please click [Start],
[Program], and then [QuickScan] in turn,
and select then the file to refer.
6.
Install the application following the
instructions on the window.
Confirming the installation
Please confirm if FUJITSU ISIS scanner driver
and ScandAll 21 were installed correctly with
the following procedure
1.
Load the documents on the scanner.
For loading documents, please refer to
Chapter 2 "BASIC SCANNER
OPERATIONS" of the "fi-5650C Operator's
Guide".
2.
Start QuickScan Pro.
Please select [Start], [Programs],
[QuickScan] in turn, then click on
[QuickScan].
3.
Select [Scan], and [Select Scanner...]
from the menu bar.
4.
Select Fujitsu fi-5650C, then click the
[OK] button.
5.
Select [Preview Setting...] from the
[Scan] menu.
6.
Set the reading resolution and docu-
ment size, then click [OK].
2-11