Brother Business Smart MFC-J4510dw Руководство по быстрой настройке - Страница 4

Просмотреть онлайн или скачать pdf Руководство по быстрой настройке для Сервер печати Brother Business Smart MFC-J4510dw. Brother Business Smart MFC-J4510dw 47 страниц. Quick setup guide - spanish
Также для Brother Business Smart MFC-J4510dw: Руководство (36 страниц), Руководство (22 страниц), Руководство по безопасности продукции (17 страниц), Руководство (13 страниц), Руководство (22 страниц), Руководство (18 страниц), Руководство по быстрой настройке (47 страниц), Брошюра и технические характеристики (4 страниц), Руководство по безопасности продукции (20 страниц), Технические характеристики (2 страниц), Руководство по быстрой настройке (47 страниц), Краткое руководство по эксплуатации (29 страниц), Руководство по безопасности продукции (25 страниц), (Испанский) Guia De Web Connect Manual (38 страниц), (Испанский) Руководство (24 страниц), Руководство по безопасности продукции (на английском языке) (16 страниц), (Испанский) Руководство (11 страниц), (Английский) Руководство по быстрой настройке (47 страниц)
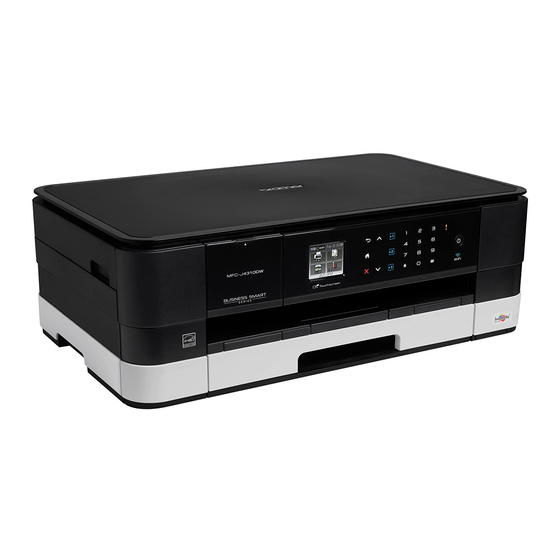
Brother Business Smart MFC-J4510dw Руководство по быстрой настройке
3
Connect the power cord
and telephone line
IMPORTANT
DO NOT connect the USB cable yet (if you are
using a USB cable).
a
Connect the power cord.
NOTE
To prolong print head life, provide the best ink
cartridge economy and maintain print quality, we
do not recommend frequently unplugging the
machine and/or leaving the machine unplugged
for extended periods of time. We recommend
using
to power down the machine. Using
allows minimal power to the machine, which
ensures periodic cleaning of the print head.
b
Lift the scanner cover until it locks securely into
the open position.
4
c
Connect the telephone line cord.
Connect one end of the telephone line cord to
the jack of the machine marked LINE.
Carefully guide the telephone line cord into the
cable channel and out the back of the machine.
Connect the other end to a modular wall jack.
IMPORTANT
The telephone line cord MUST be connected to
the jack of the machine marked LINE.
d
Lift the scanner cover to release the lock a.
Gently push the scanner cover support
down b and close the scanner cover c using
both hands.
2
1
3